How to get the most out of Worksection? In this article, we’ll show you some non-obvious tricks that will come in handy when using the system on a daily basis and save you time.
System configuration options
You can personalize your experience by using the Worksection settings. Let’s take a look at some of the interesting features that you can use to customize the service usage.
In this article, we will take a closer look at:
- Set up your account and profile
- Bulk actions in the system and work with templates
Set up your account and profile
Let’s start with the basics: system account and profile settings.
Account settings
The Account Owner and Account Administrators have access to the company’s account settings. In addition to the standard account settings, there are a number of interesting settings available:
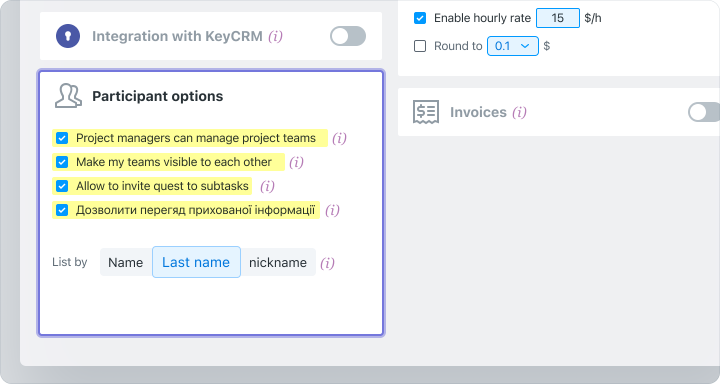
- Project managers have control over project participants. This allows the project manager to add or remove participants within the project to which he or she is assigned as a leader.
- Enable team visibility. You can prevent teams from seeing each other if you want to keep them separate. This way you ensure each team works autonomously.
- Permission to invite a guest to subtasks.
- Permission to see hidden information. This option allows administrators of a specific team or department to view hidden information. If the account has restricted access, only users assigned to such tasks will be able to view hidden information.
- Lists by first/last name/nickname. Set up the choice of what (first name, last name or nickname) is used to create lists in the system.
Profile settings
Every user in the system has access to these settings. This is where you can fill in your contact details, set up your work schedule and set up a notification system:
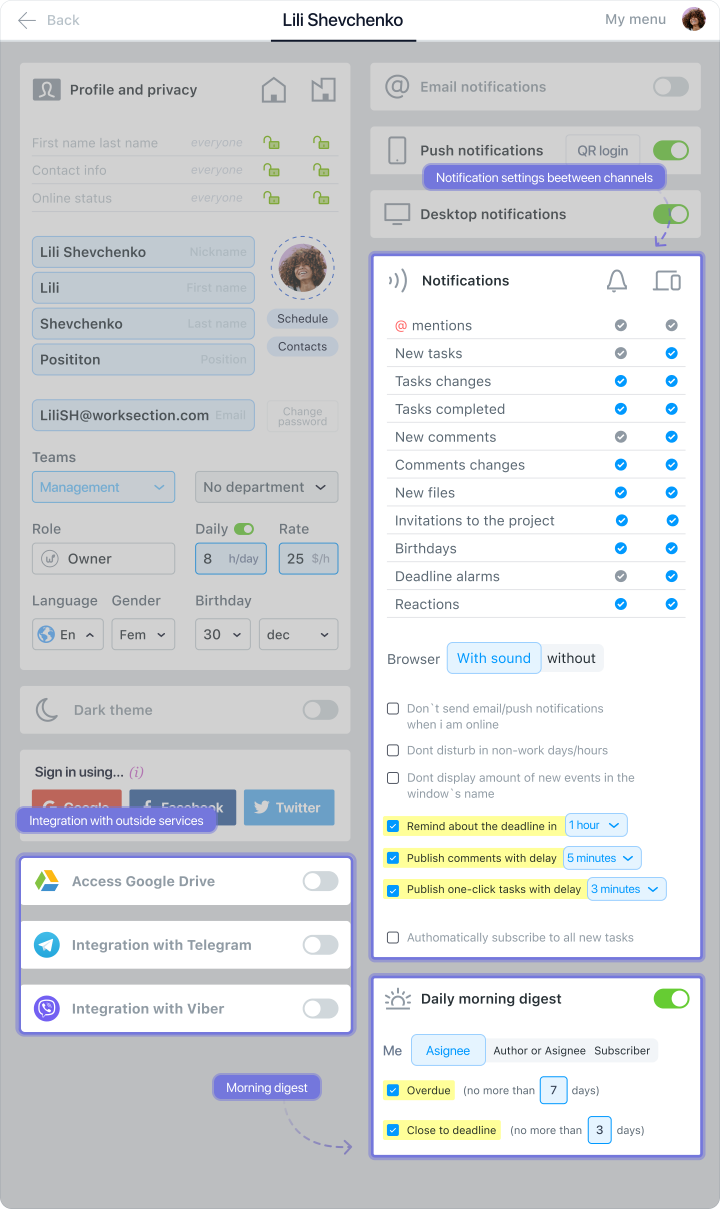
- Integrate with Telegram or Viber if you want to receive notifications directly on one of the messengers.
- Set up notifications between channels: where and what notifications you want to receive.
- Morning digest. A feature that allows you to receive a morning email notification with the most relevant tasks for you. You can configure it in this menu.
Team settings
If you have to work with teams from different regions, you can set a separate interface language for each.
To do this, go to the team settings and select the required language. You can also add your logo and other contact details to the team.
Dashboard settings
The dashboard contains important information about the progress of the project:
- project speed;
- employee activity;
- number of closed/open tasks, etc.
Dashboard blocks are clickable, allowing you to learn more about the information.
Customizing the placement of dashboard blocks is a less obvious function of this section:
This allows you to organize your dashboard data by relevance.
Setting up the main page
The main page displays all available information about the projects you are participating in. You can also:
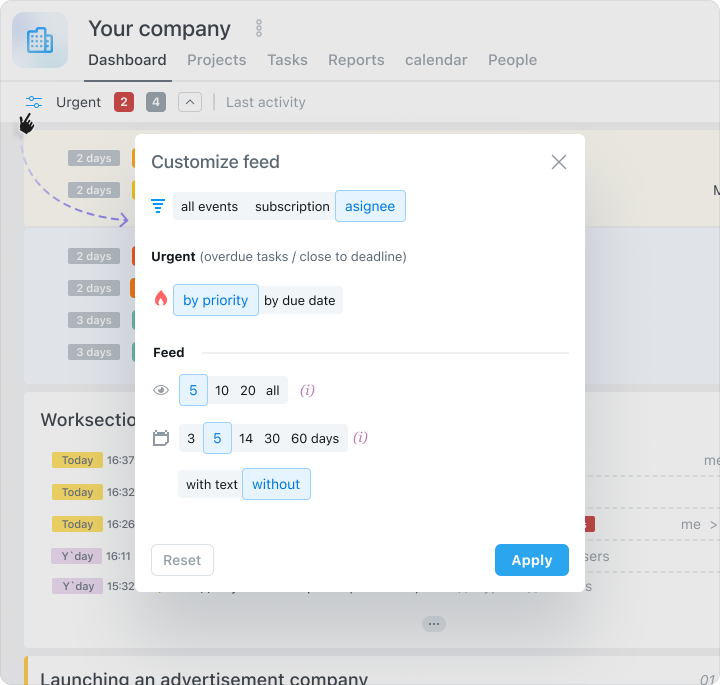
Setting up the display of data by task
The main page shows all tasks by default. However, you can personalize the information for more focused work with the help of the “Customize feed” settings.
Project display
You can use the filter to view projects in a more convenient way. You can also use the filter to view the project history. This is where all the data on completed projects and tasks within them is stored.
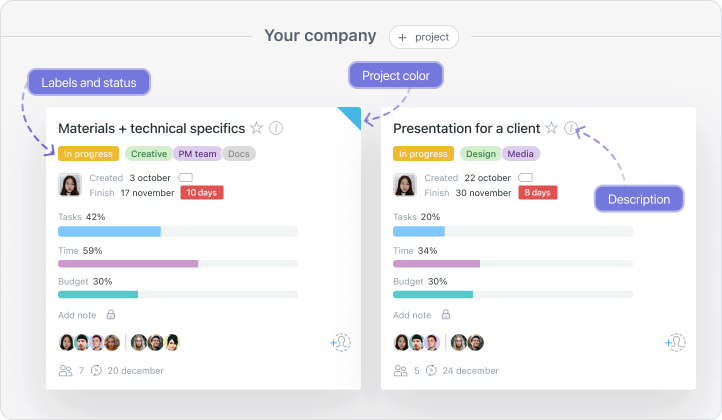
Project settings and description
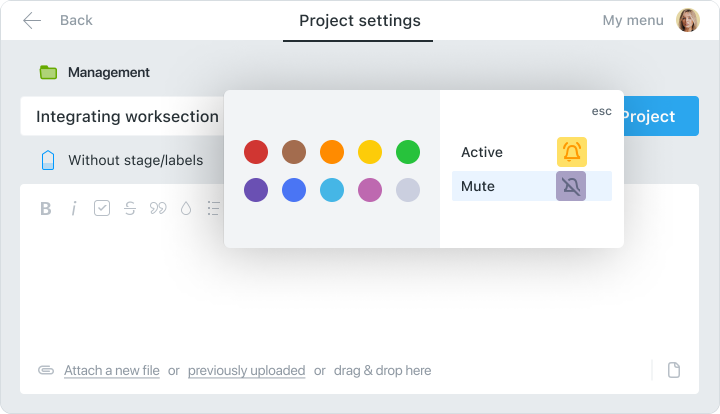
You can add a Project Description, Stages and Labels to describe project information in more detail.
The requirements for creating tasks and the general algorithm for working within the project can be specified in the description. In the project settings, you can also choose a color for the project. This allows you to further differentiate between the company’s work areas.
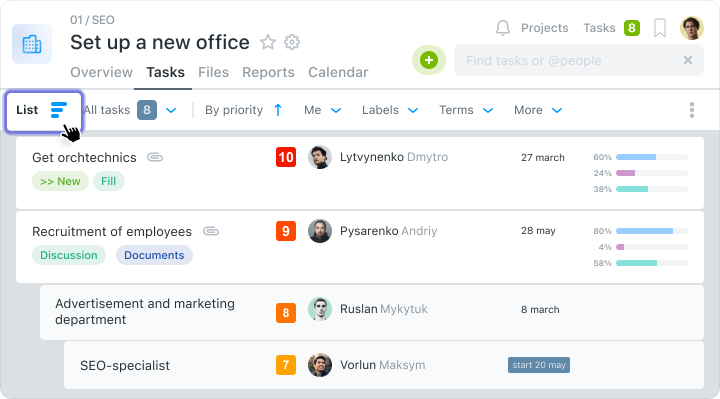
Types of task display
Tasks can be displayed:
In a list
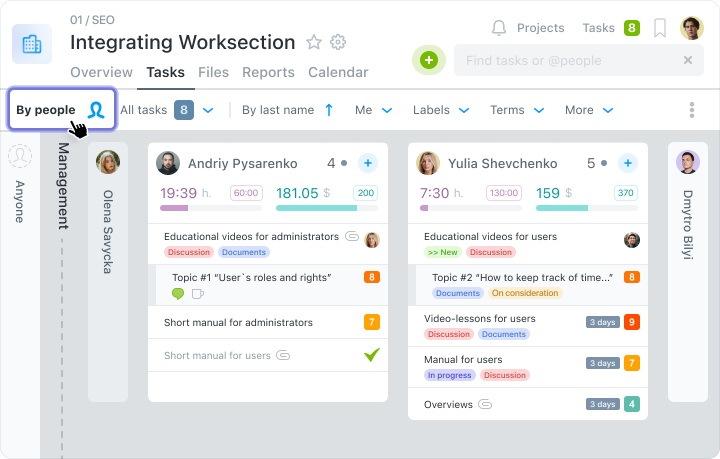
By people
On the Kanban board

Select the most convenient way to view tasks for easier system operation.
Bulk actions in the system and work with templates
Do you often find yourself copying and transferring data manually? Some of Worksection’s features allow you to automate and speed up your work with such tasks.
Bulk actions in the system
You can use the system’s bulk action feature instead of editing tasks individually or interacting with participants.
Bulk actions with tasks
As soon as you select one or more tasks, a menu will appear in the system that will allow you to carry out bulk actions.
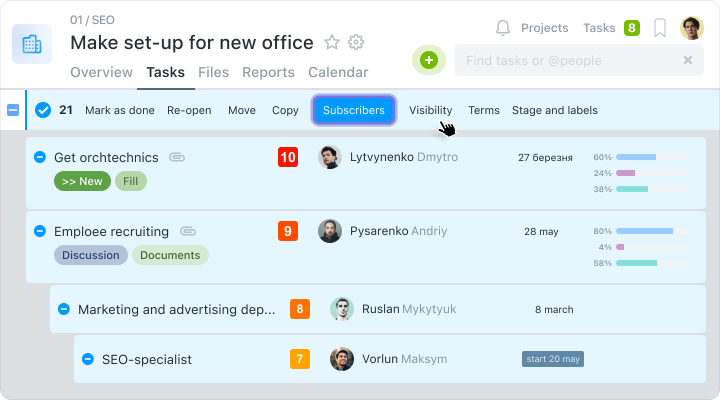
You can do this in a bulk mode:
- move or copy tasks to another project;
- delete or close a task;
- assign a responsible person;
- edit visibility;
- add tags or status;
- assign subscribers;
- set deadlines;
- add to invoice.
Bulk actions with people
In addition to the task, bulk actions are available in the “People” section of the system, where you can select multiple employees:
The following bulk actions are available:
- exporting data; resending the invitation;
- transfer participants to another team or department;
- setting time limits;
- granting rights and accesses;
- editing participants;
- subscribing participants;
- delete a participant.
Bulk task creation
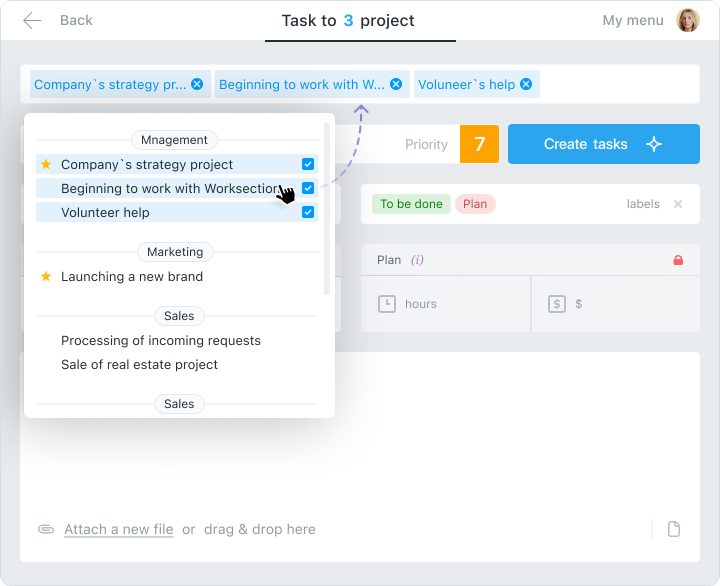
You can create one or more tasks using the plus sign in the main menu.
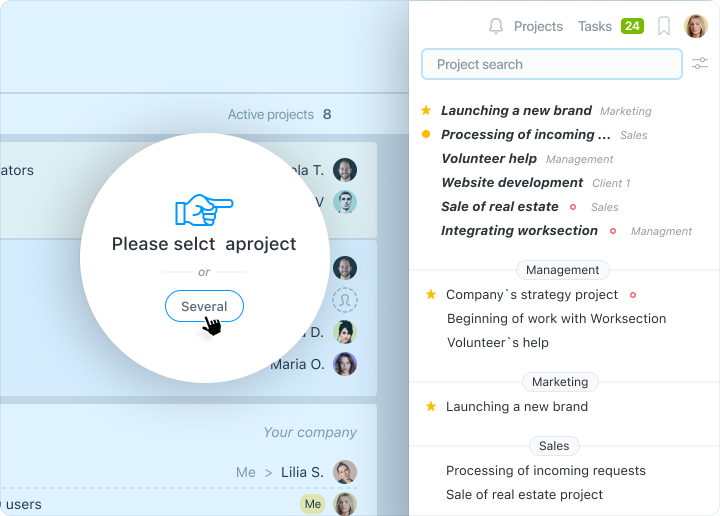
This is how you copy a task to different projects. In addition to the usual task creation information, you can select the projects to which you want to copy the task.
Create a group of tasks
If you need to create several tasks at once, you can create a task group. This is done by clicking the plus sign and then selecting “Group of task” in the tasks preferences.
Dealing with templates
A template project is different from a regular project in that it is marked as “Muted”. These projects don’t receive any notifications, so they don’t distract people from their work.
You can copy a task with all its settings from such a project. Select the required task and choose “Copy” from the menu above.
Next, click “Copy to other project” and add the copied task to the desired project. When copying, you also have access to the copy settings with subtasks, deadlines, and connections, and you can add subscribers to the project.
How to use it?
We recommend using the system based on your business needs. This way, you don’t have to adapt to the structure of the service, but the service adapts to your needs. In this way, you will get a real assistant in organizing your workflow.
We’re confident that you’ll get to grips with using the service over time, and find that you’re able to work much more efficiently. Good luck!