Creating the first task
Hello, colleagues!
Today, we will learn how to create tasks.
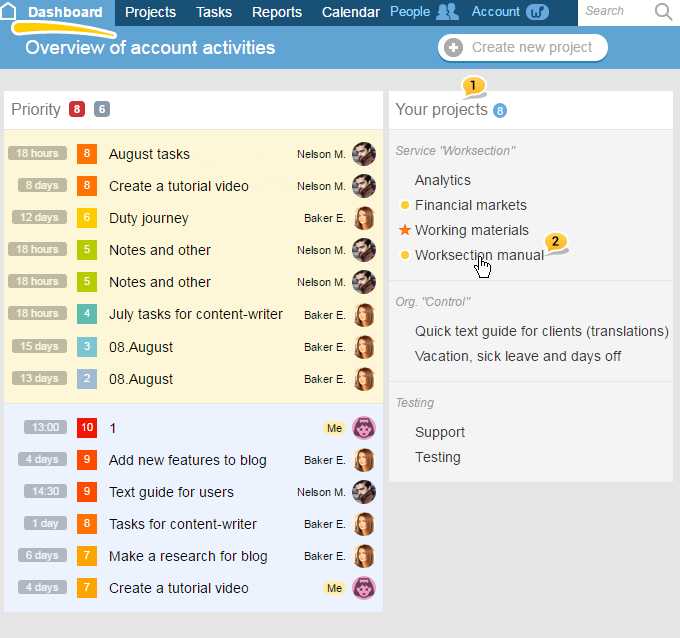
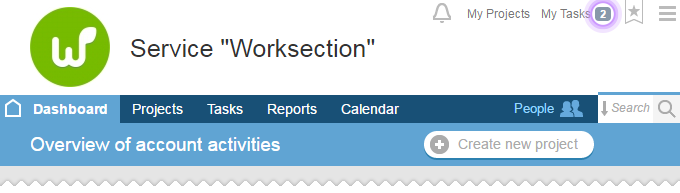
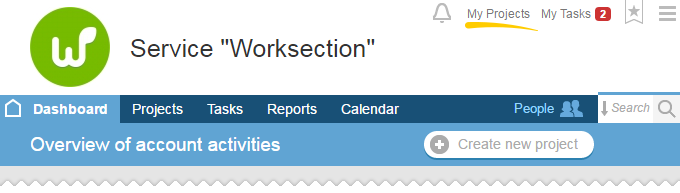
On the main page of the account, you see a block of projects1 in which you are a participant.
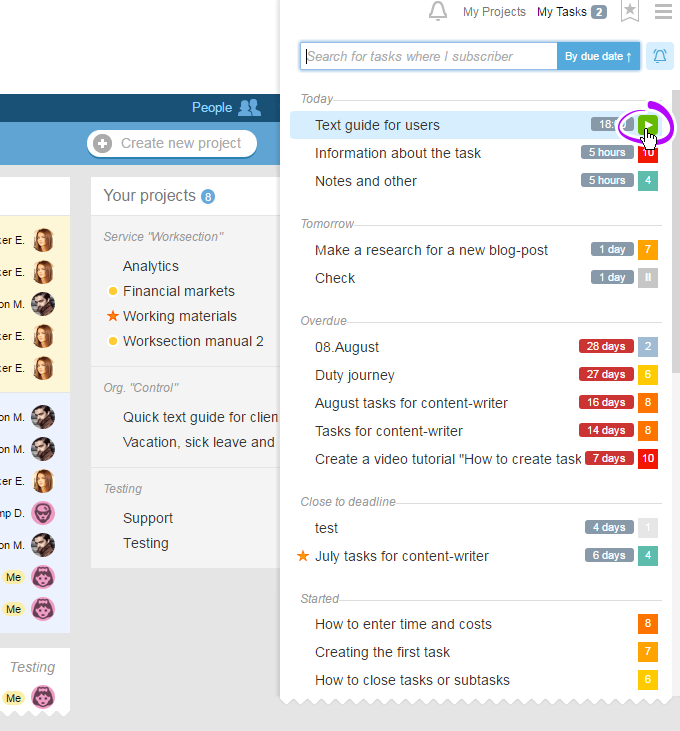
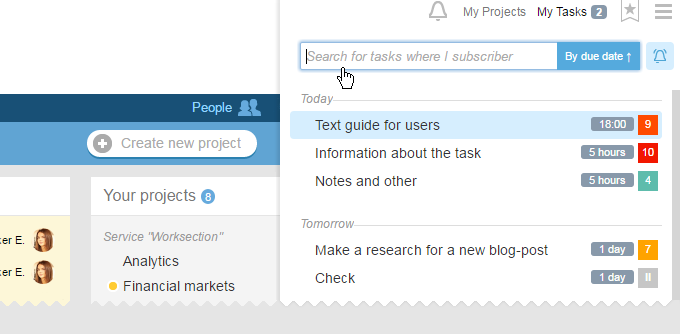
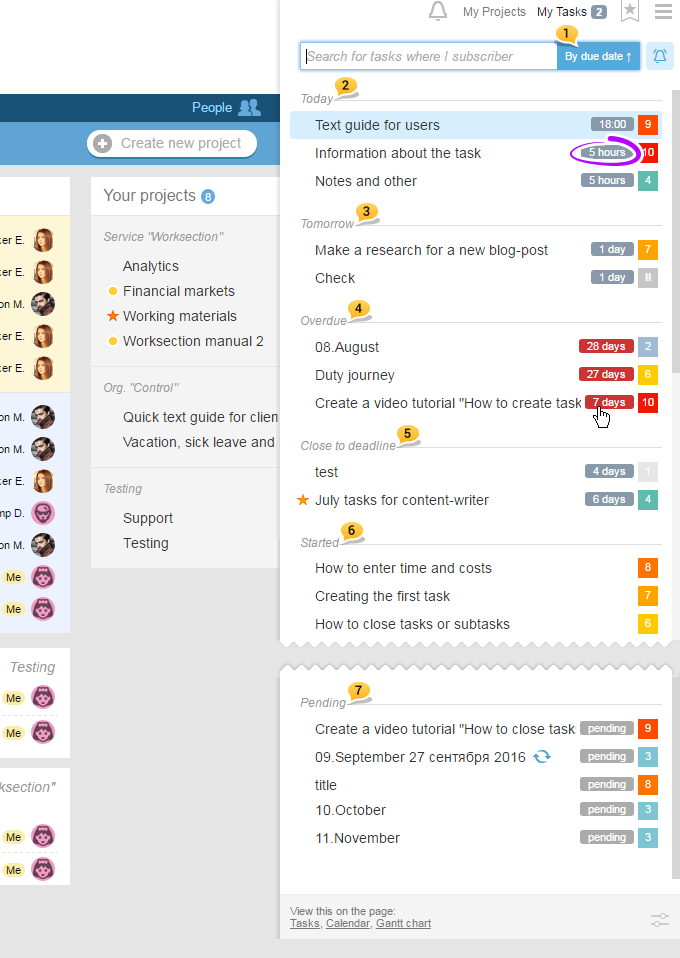
Choose the desired project and enter it2.
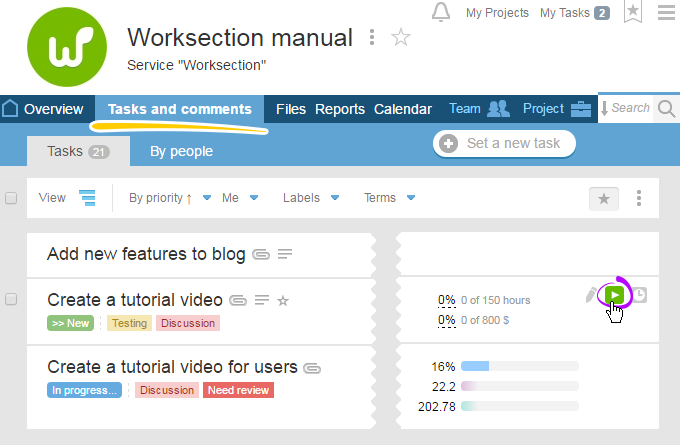
Creating a task
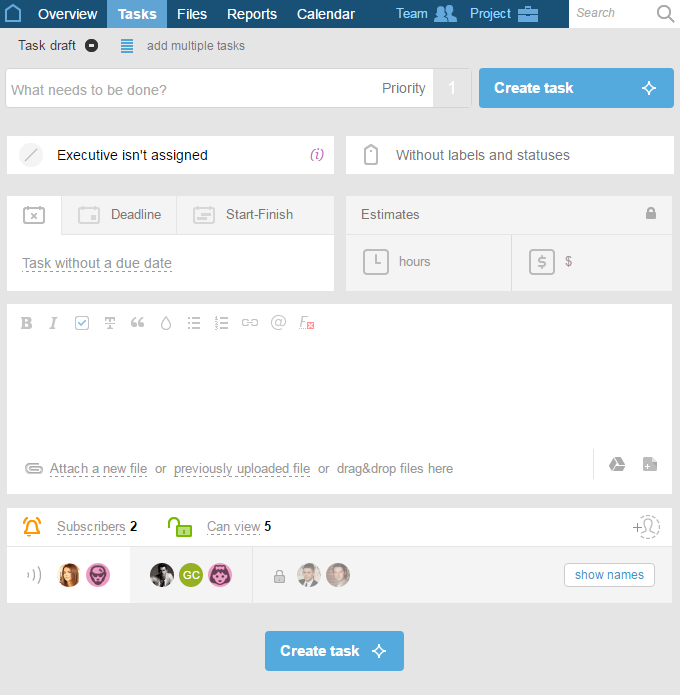
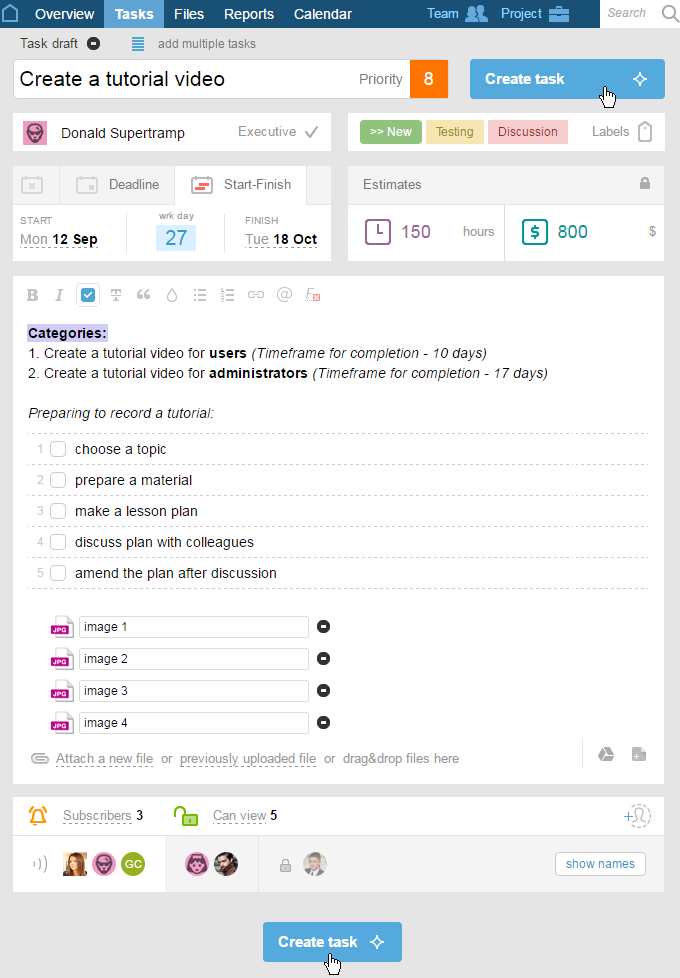
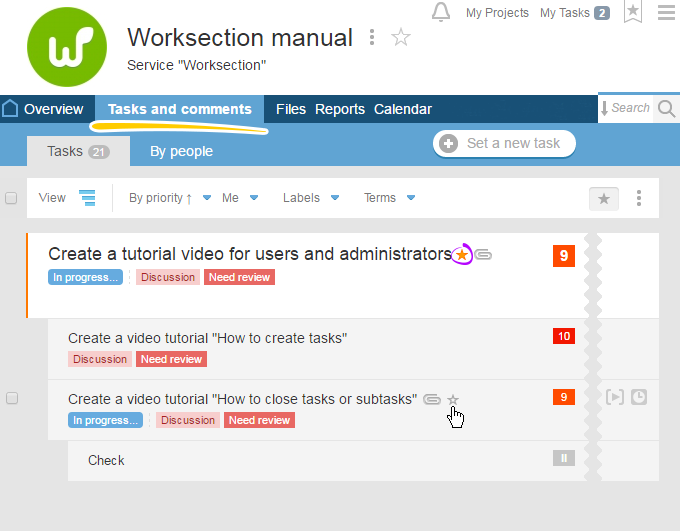
Now, you need to create a new task. In order to do this, click on the «Create a new task» icon.

After, you will see that:
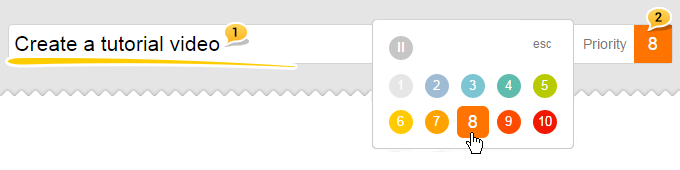
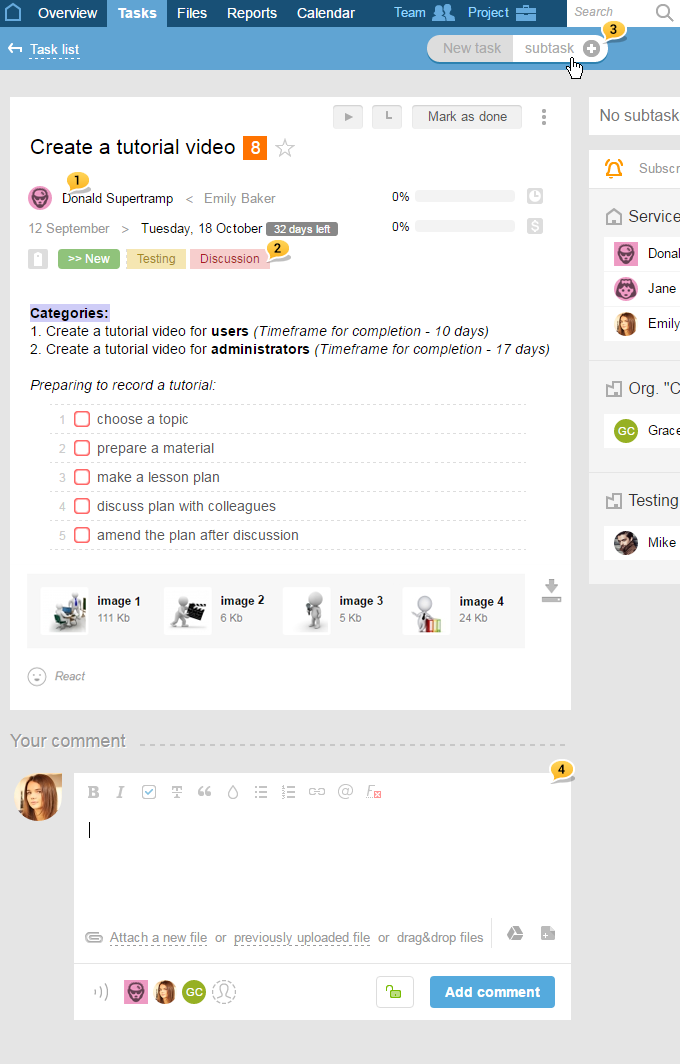
Name & Priority
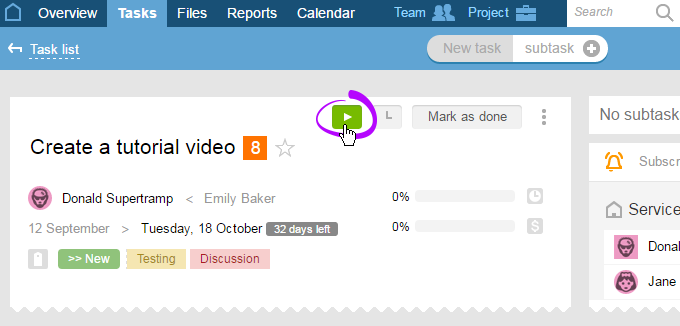
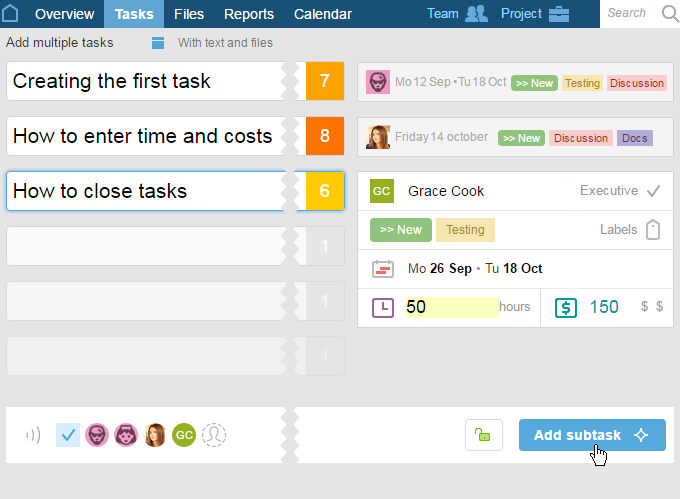
You need to write the name of the task at the top1. Make sure that the name is clear, easy to understand and doesn’t have a double meaning.
For each task, you can set the priority of its importance2. Just as an example, let’s choose the priority — eight.
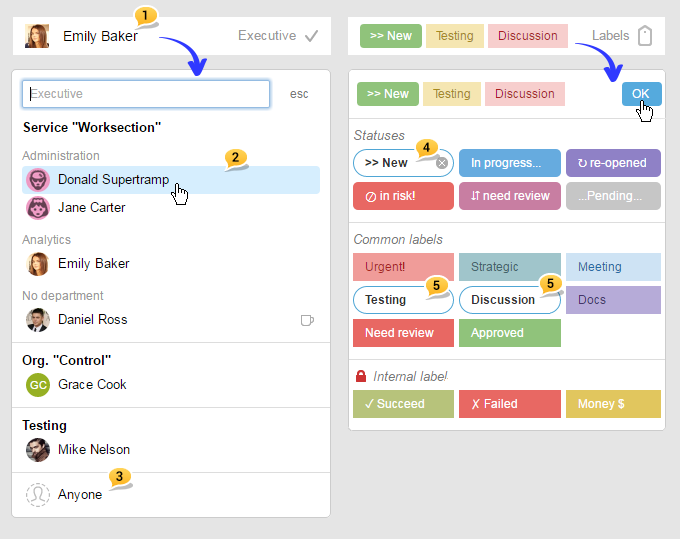
Executive, labels and statuses
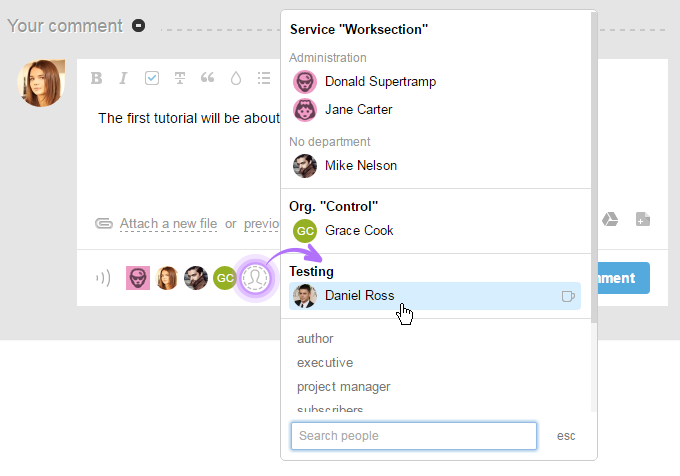
Then, let’s define an executive for the task. You can assign yourself1, another project’s participant2, or leave the task without an executive, and, in such case, project’s participants can take on this task3.
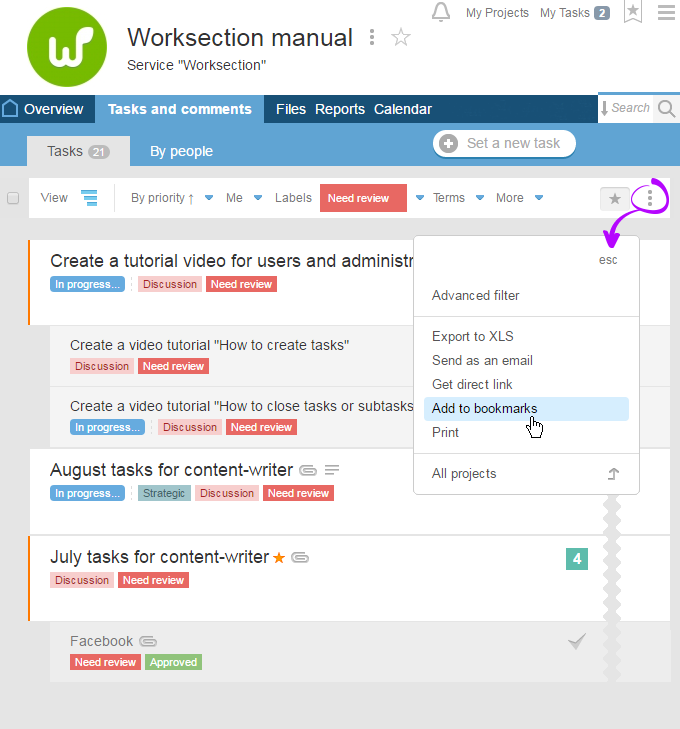
For the structured tasks, use labels and statuses. There can be only one status4, but there is no limit to the number of labels5.
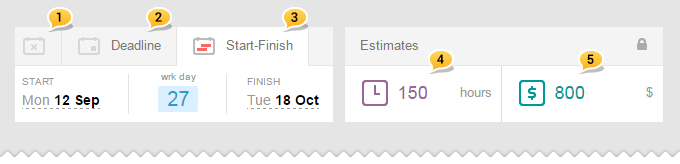
Timeframe for completion & Estimates
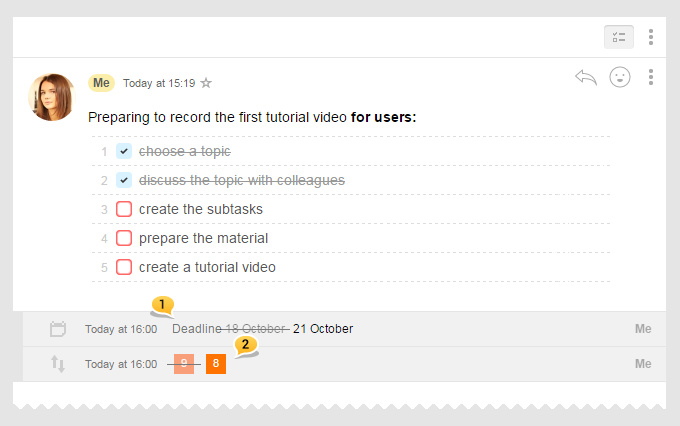
After setting the status and the labels, let’s set the timeframe for this task completion. A task can be without any timeframe1, or can have the date of completion set2 (or «deadline» in other words), or can have the date of its start and finish3.
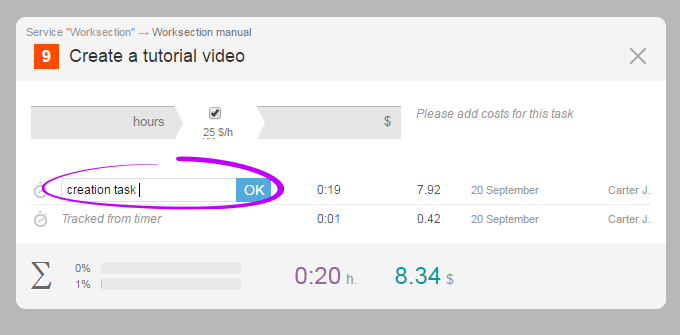
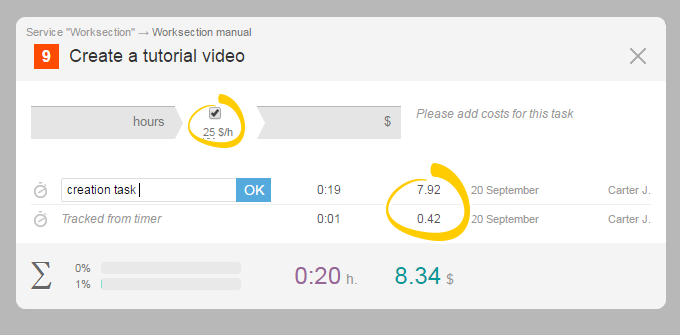
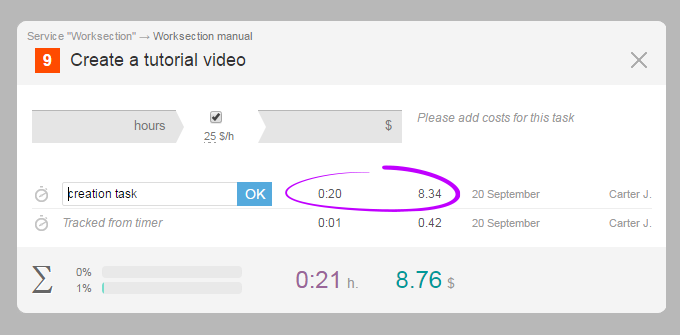
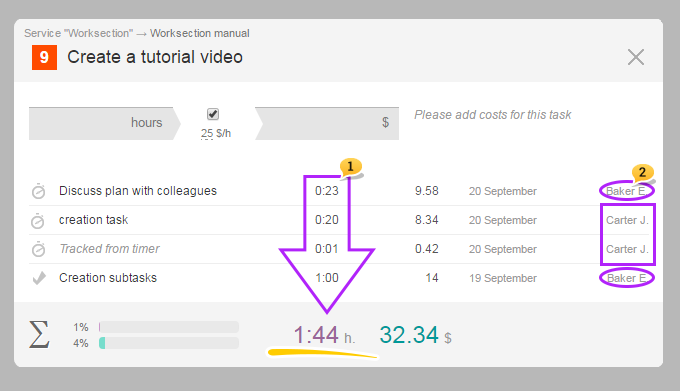
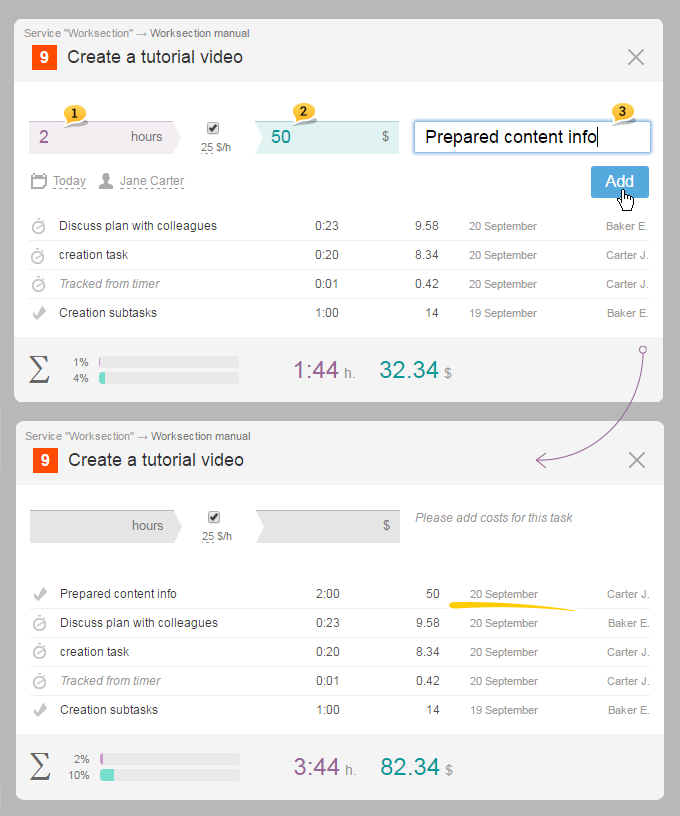
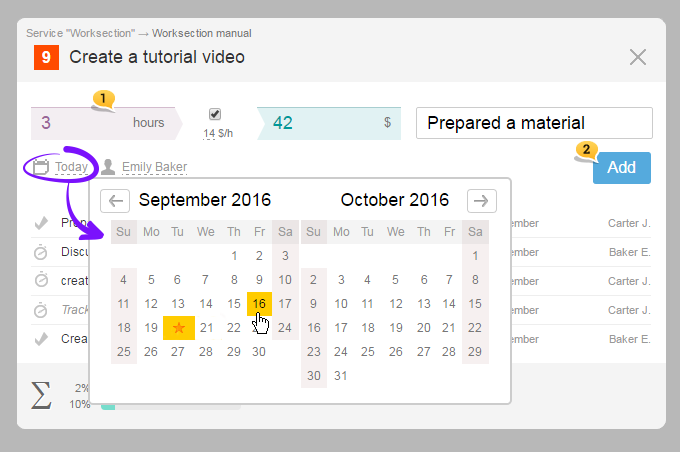
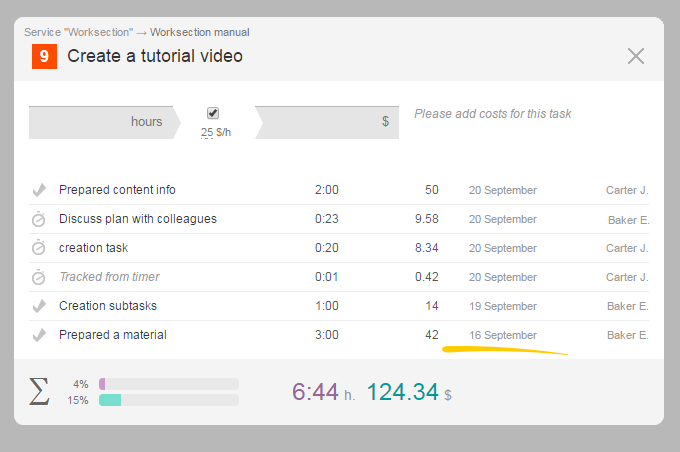
If necessary, set estimates for completing the task you are creating. You can set estimates both for time4 and costs5.
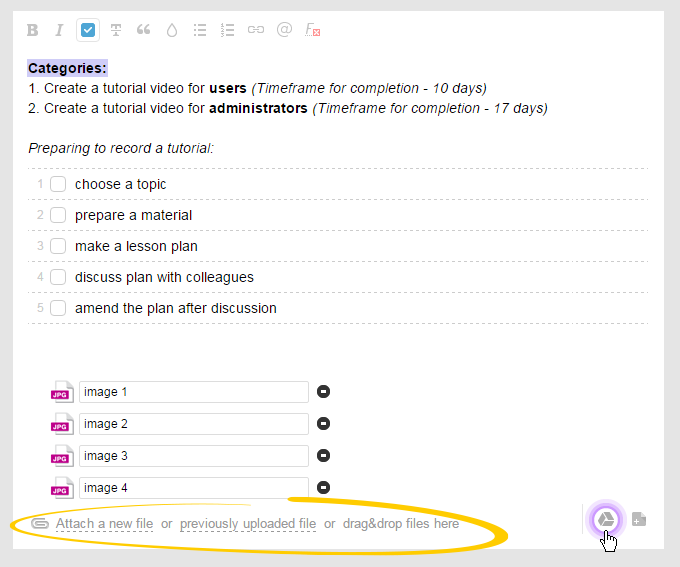
Task’s goal
Notifications

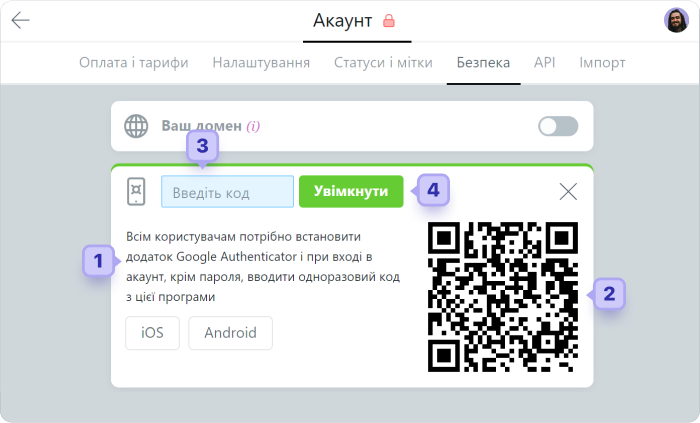
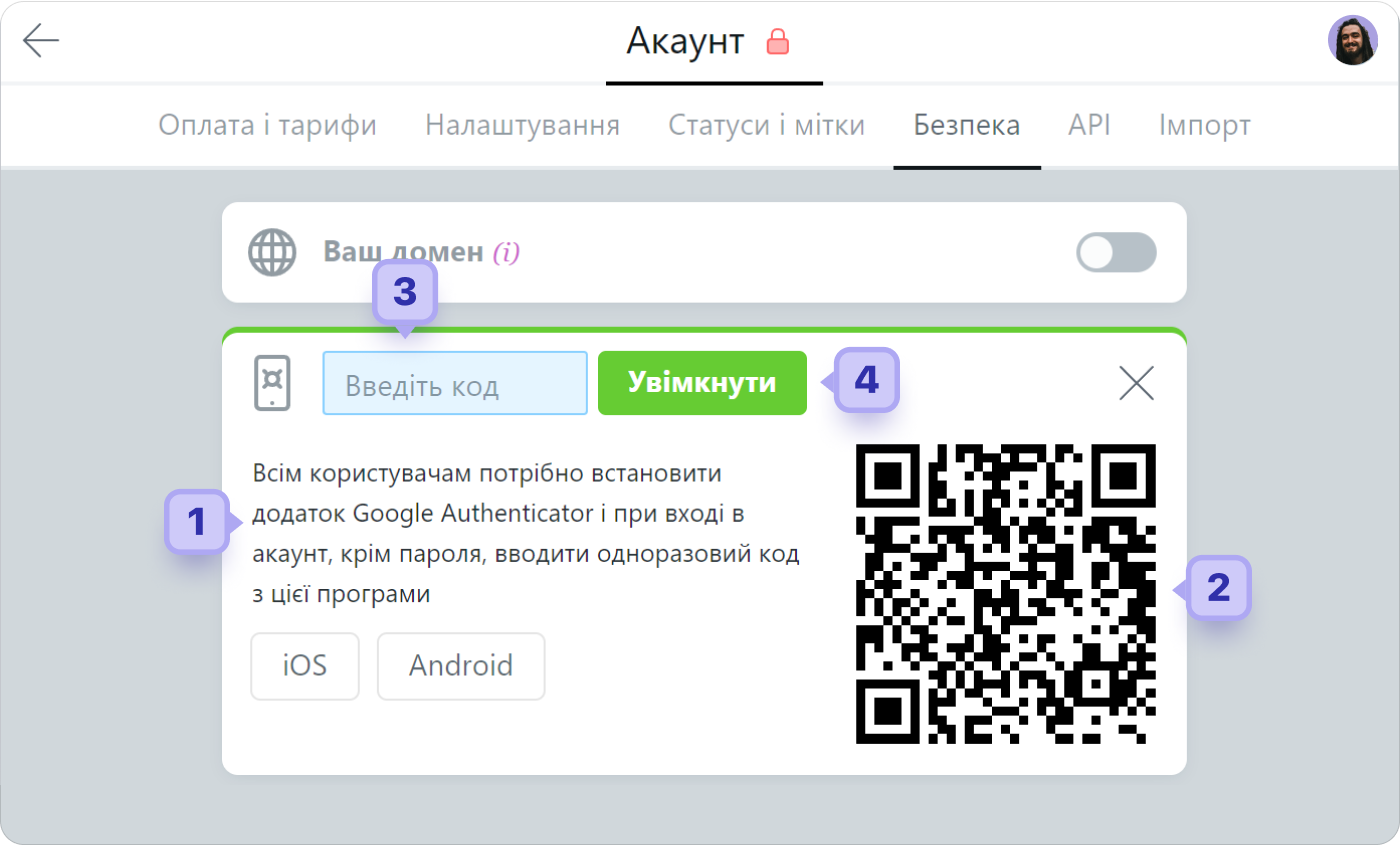
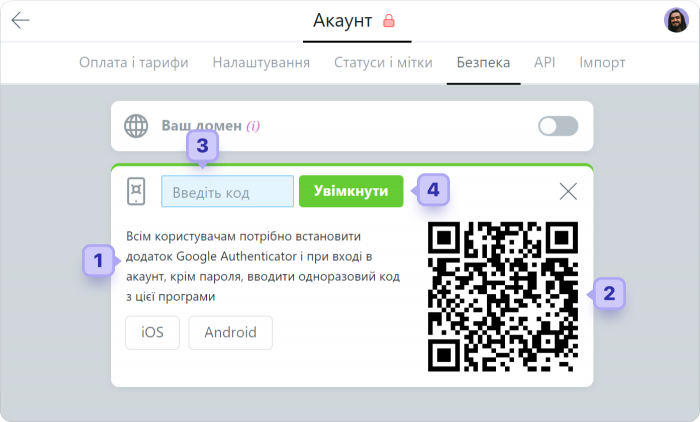
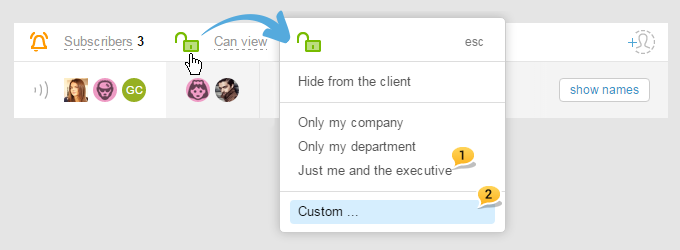
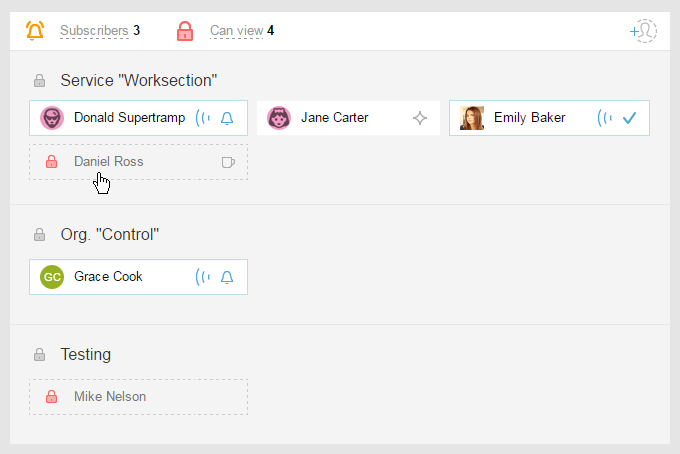
The visibility of the task (Lock)
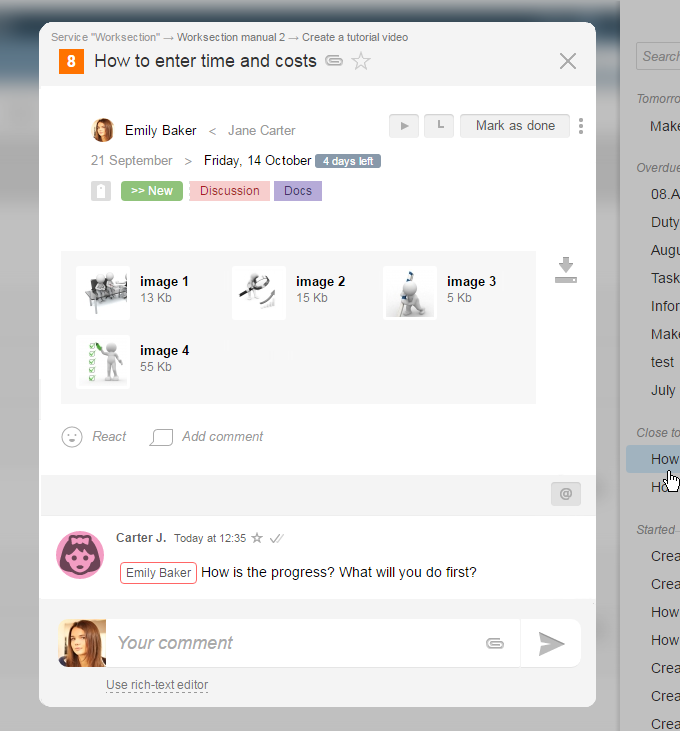
Creating a task
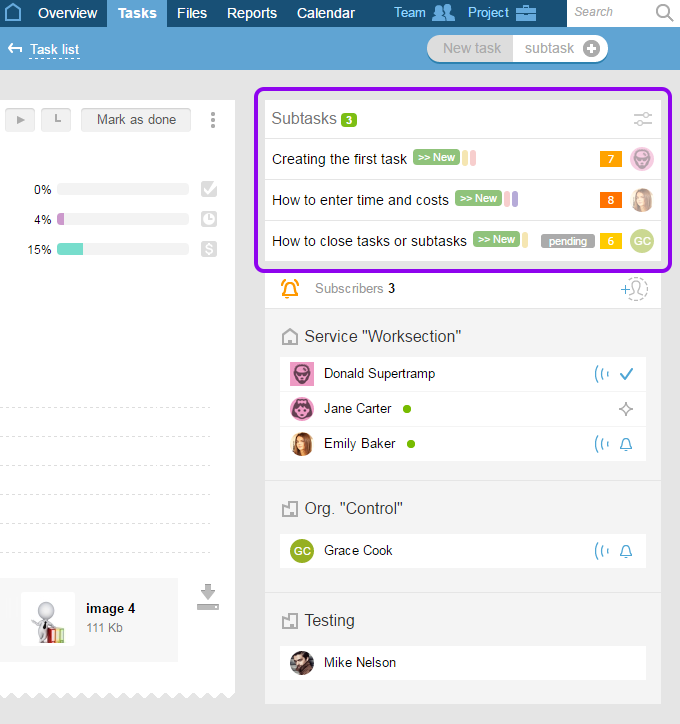
And this is how it looks like.
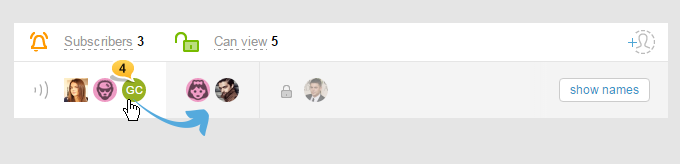
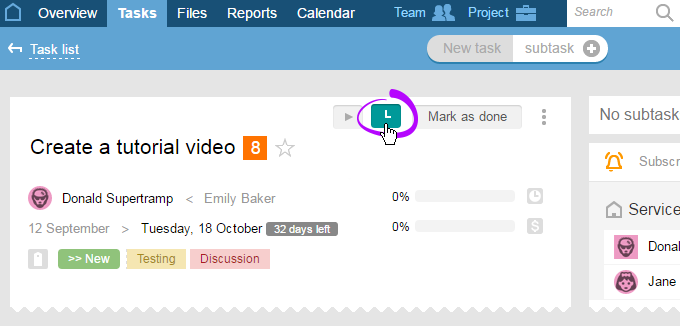
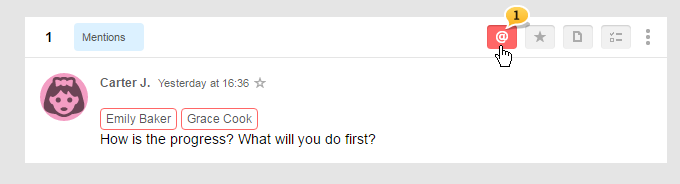
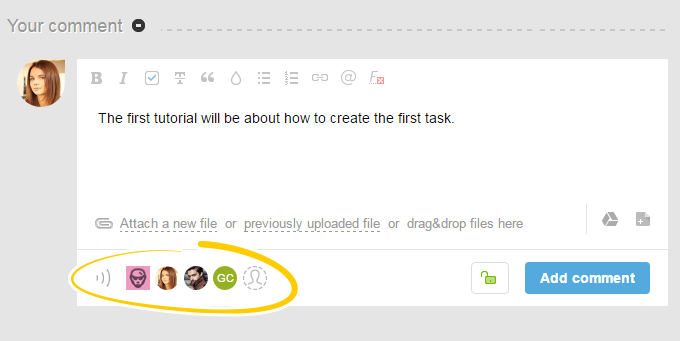
To the right, we see the number of subscribers1.
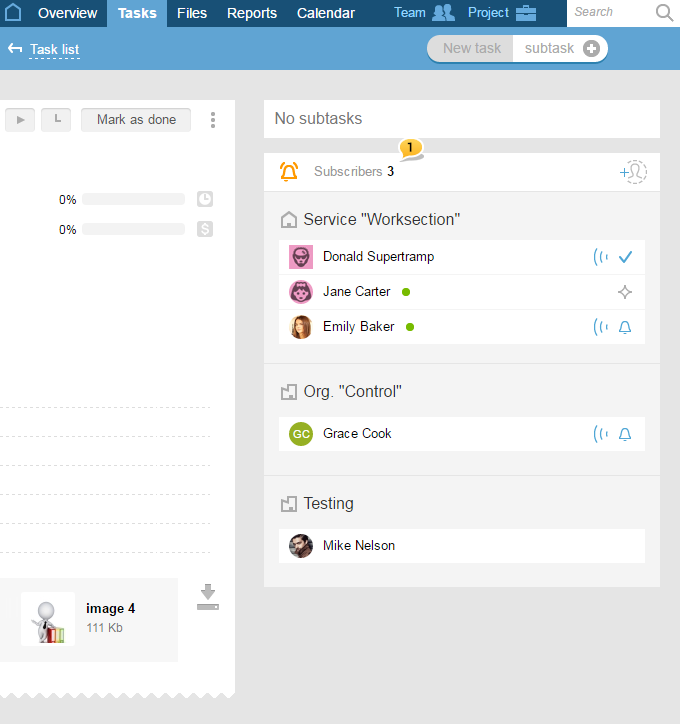
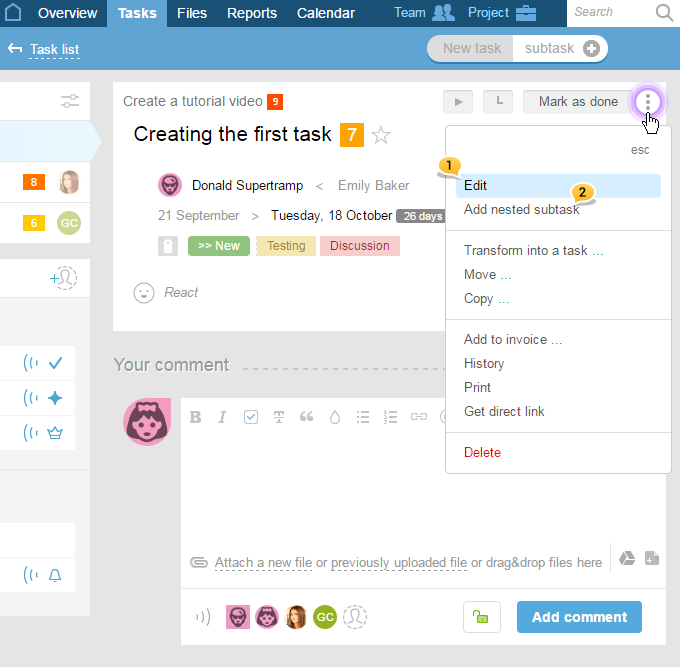
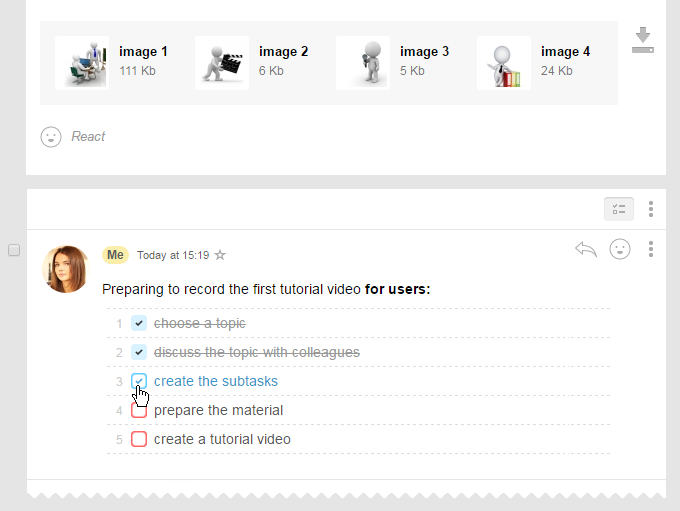
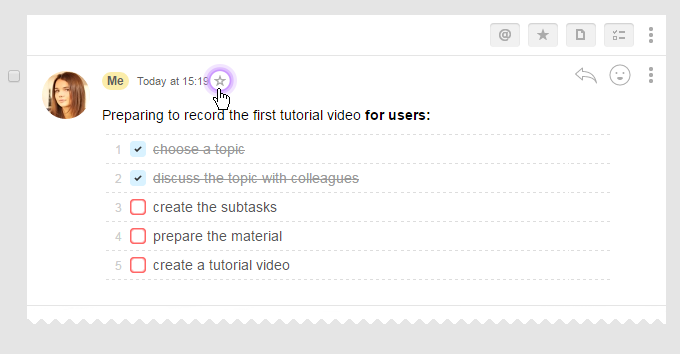
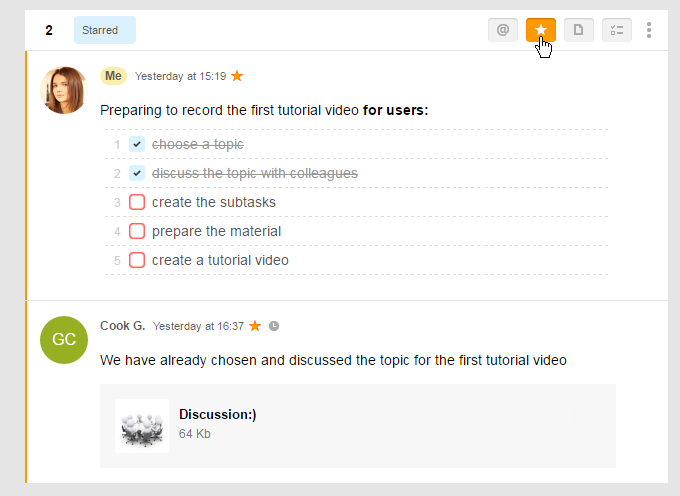
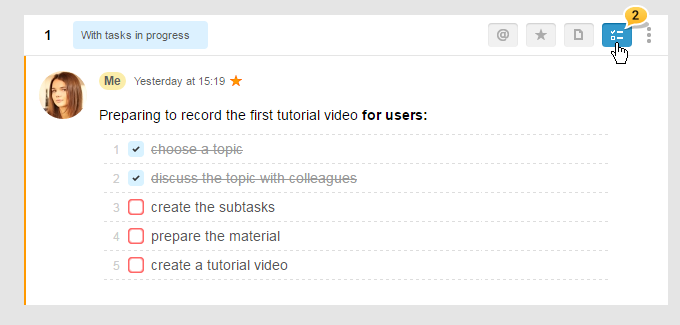
And to the left, there are the executive of this task1, the status and labels2. If desired or needed, you can create subtasks3.
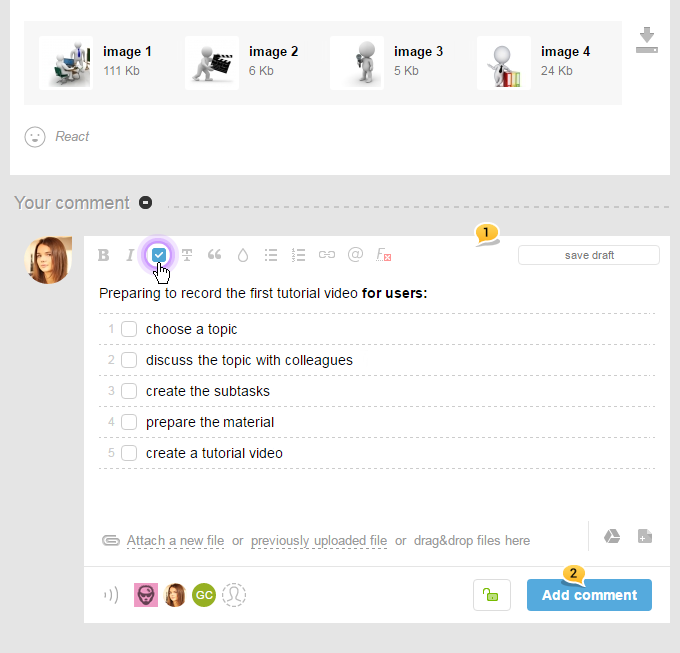
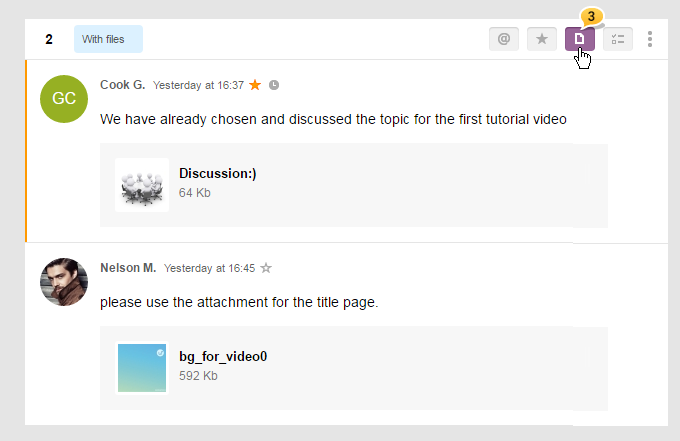
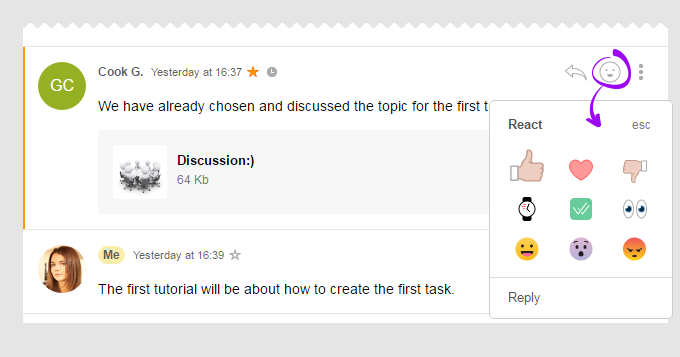
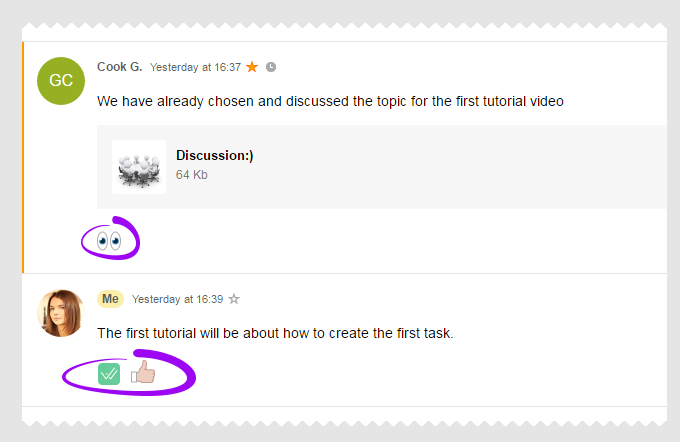
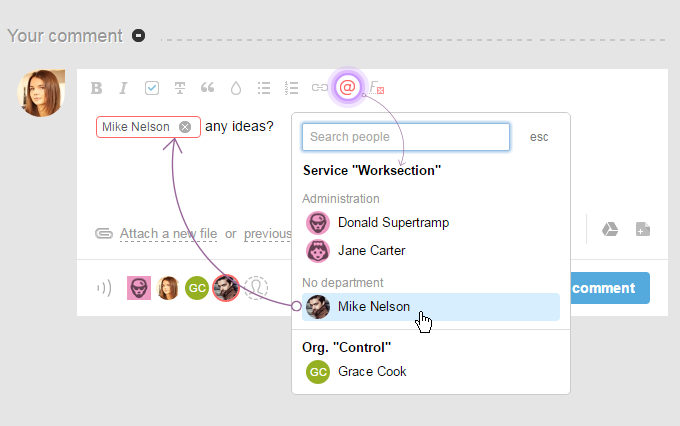
In the task itself, you can conduct correspondence with the help of the comments4.
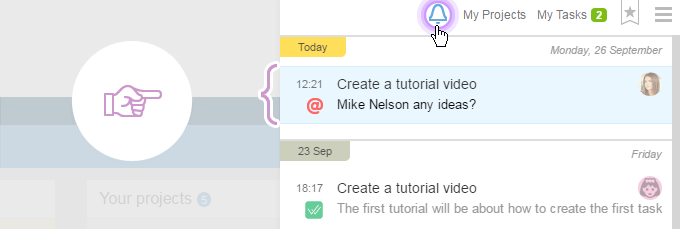
Notifications about the comments will be sent to subscribers’ email and will also be reflected in the bell.
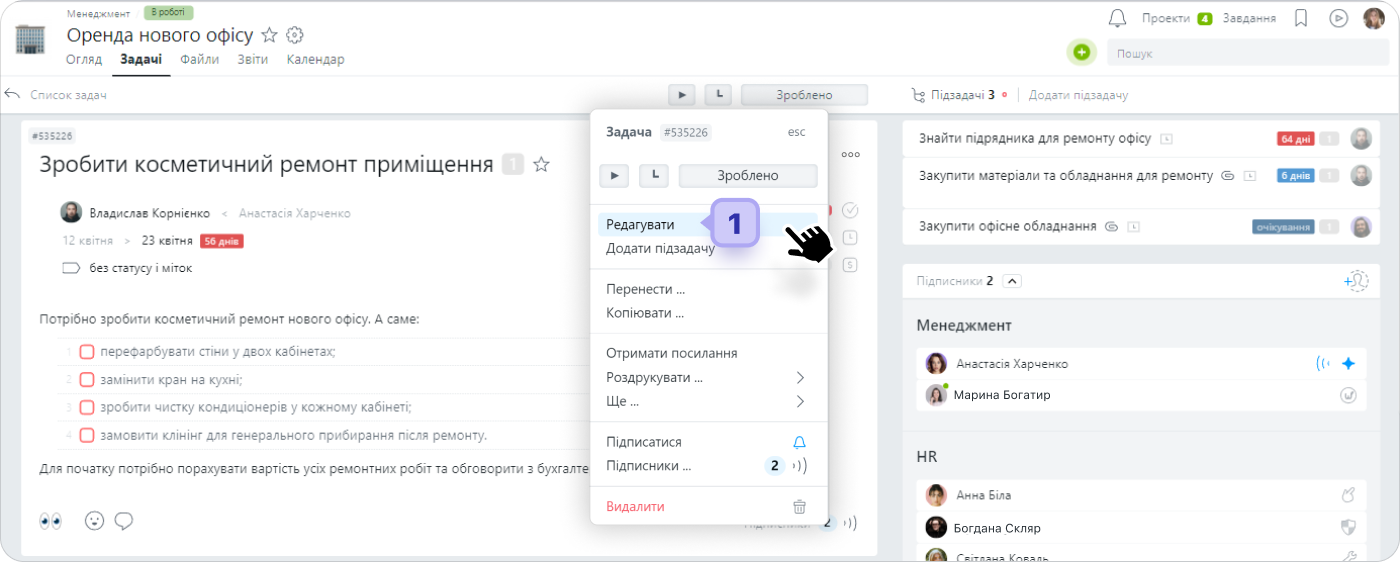
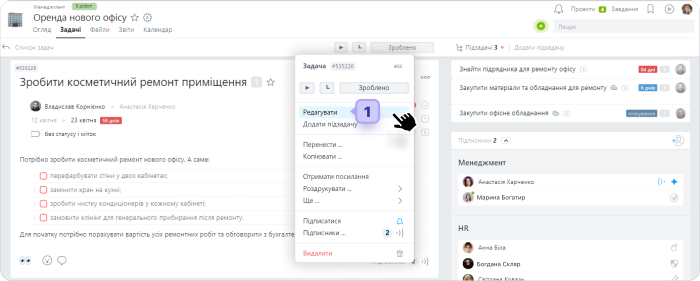
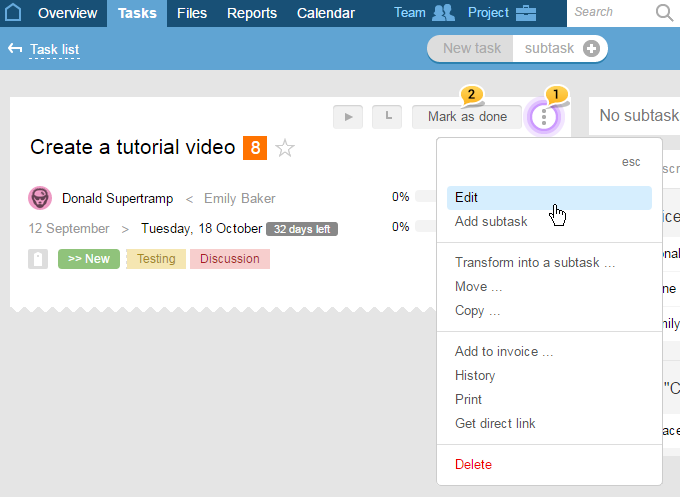
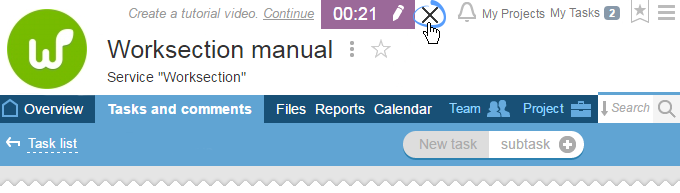
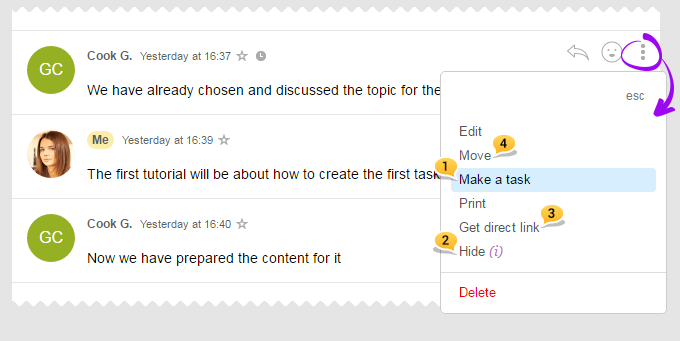
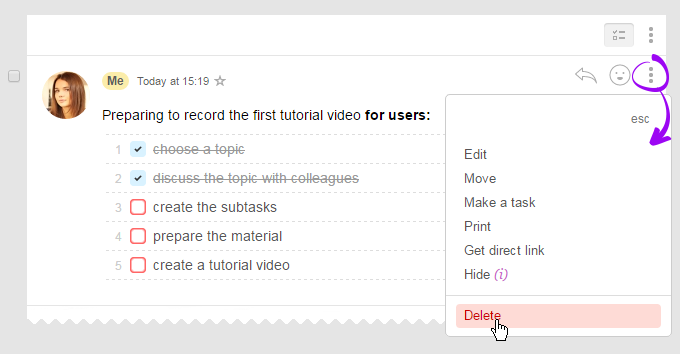
In order to make changes in the task, click on «edit»1.
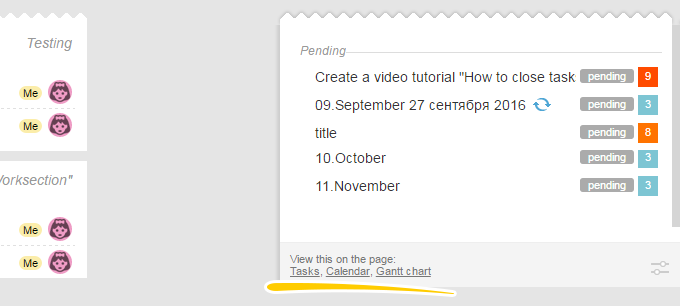
Close the task after its completion2.


 посилання на