The number of projects and tasks in Worksection is unlimited. You can create as many projects as you need and add an unlimited number of tasks to them.
The number of users depends on the number of purchased seats. Pricing plans differ in both the available functionality and the cost per user.
Inviting people to the account
There are several ways to add new members to the account.
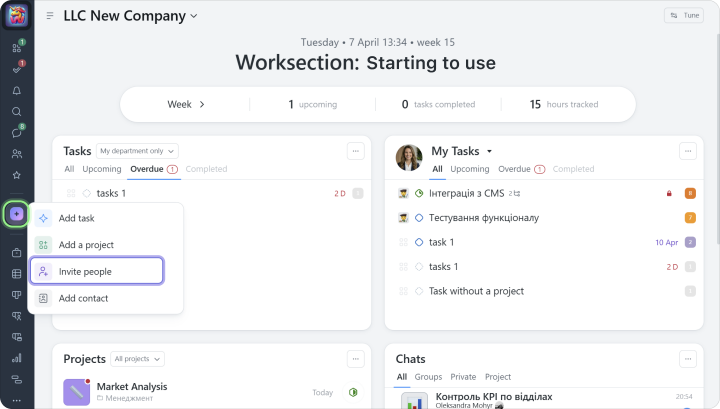
You can do it using the “+” button in the left sidebar:
You can also add new members from the “People” widget on the account home page:
We recommend first adding your most proactive team members to the account. They can learn the system and then help onboard the rest of the team.
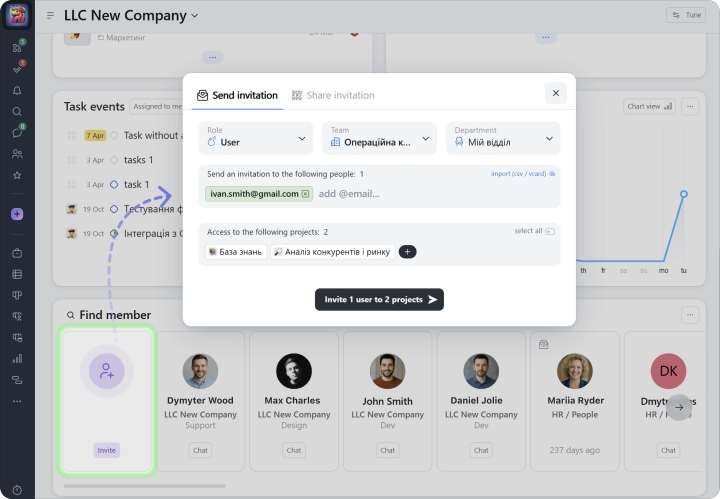
To add new users:
1 Specify their role in the system (you can assign the basic “User” role). 2 Add the email address of one user or several users at once. 3 Select one or more projects the users will be invited to.
After sending the invitation, you can change user role at any time (Administrator, User, Guest, or Reader).
Tip If your team has up to 10 people, add them to your main team in Worksection. If your team is larger, we recommend creating separate teams for each department, such as “Marketing” and “Production.” This way, you can assign a manager as a “team administrator” and give them extended permissions, but only within their own team.
Creating a project
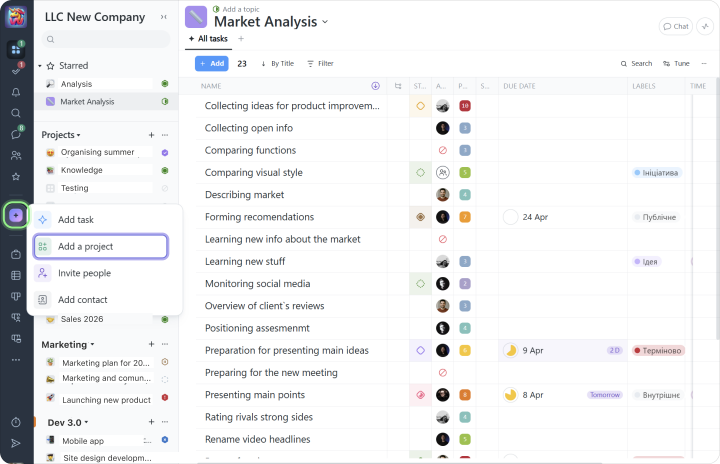
You can create a new project by clicking the “+” button and selecting “Add a project”:
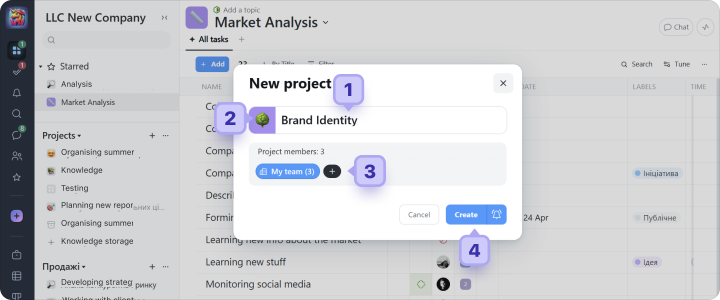
In the next window, specify:
1 the project name 2 if needed, choose a color or set a project icon
3 select the project members. These are the people involved in the project. By default, they can see all project tasks. You can add members from different teams.
4 click “Create”
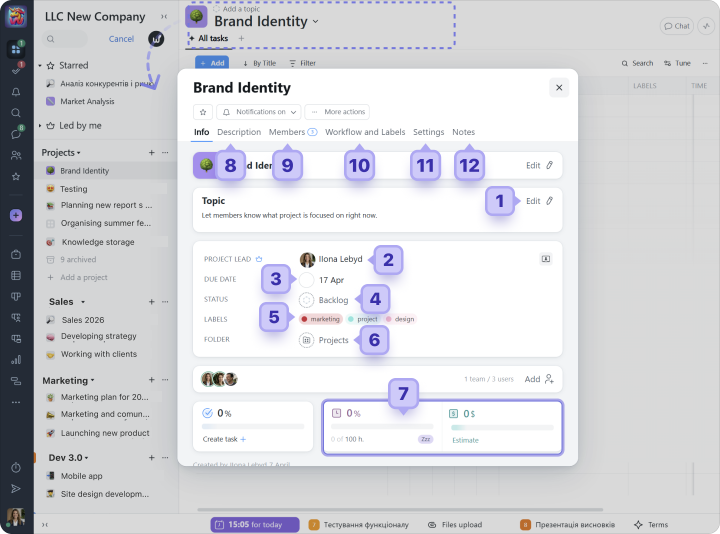
After the project is created, click its name to open the additional project settings window, where you can:
1 change the project topic, which is a short message displayed next to the project name.
2 choose the project lead, the person responsible for the project outcome.
3 set project due date.
4 set the project status.
5 assign project labels.
6 choose a project folder.
7 set time and cost estimates.
8 on the “Description” tab, add a project description (wiki) and attach the necessary files.
9 on the “Members” tab, grant or restrict employee access to the project.
10 on the “Workflow and labels” tab, choose a workflow (a set of statuses) and label sets that can be assigned to tasks in this project.
11 on the “Settings” tab, configure additional permissions and restrictions, such as who can close or reassign tasks.
12 on the “Notes” tab, add private and shared notes for administrators.
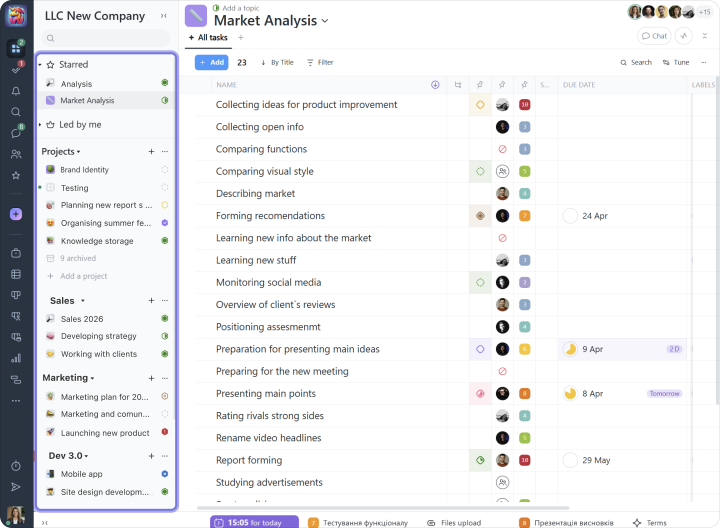
Project folders
Projects in Worksection can be organized into any folders you create.
Your project structure may look like this:
We recommend moving inactive projects to the Archive for storage.