Hello!
Today, we will take a look at how to add costs and track time.
When working on any task, it is important to know how much time we spend on it at the end of the day. Time can be added manually or using the timer.
Starting the timer
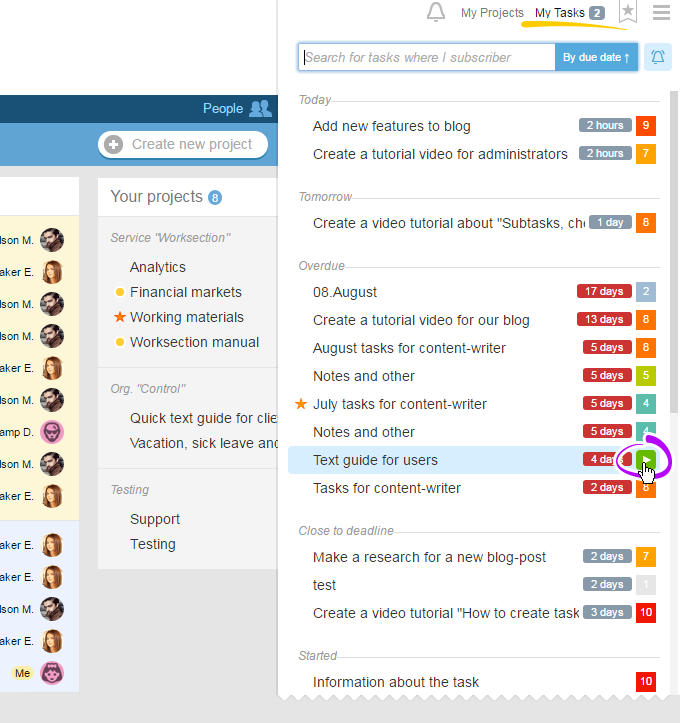
You can start the timer right from «My tasks».
Or you can also do it in the «Tasks and comments» section:
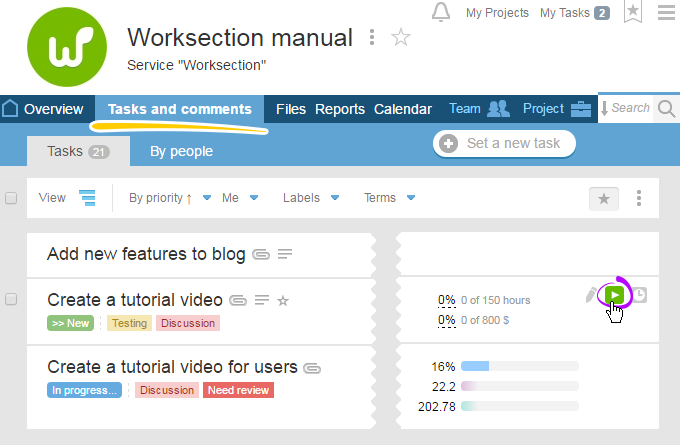
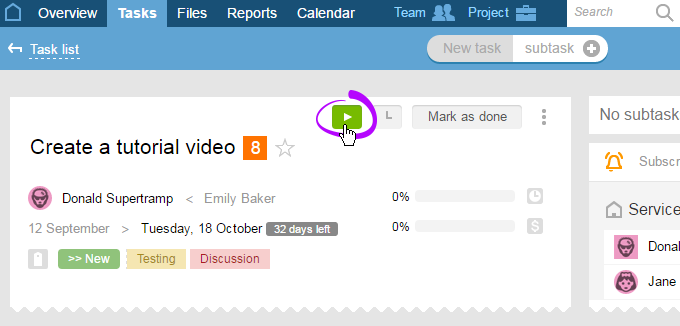
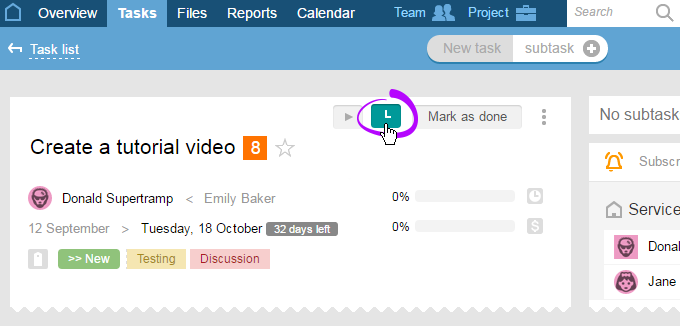
Or you can start timer right from the task itself.
It is time to see how it all works.
Timer display
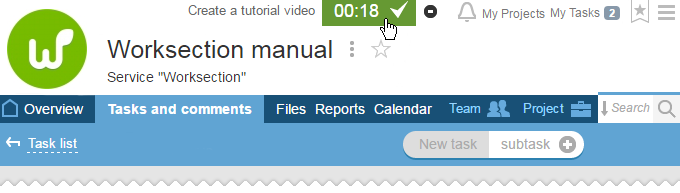
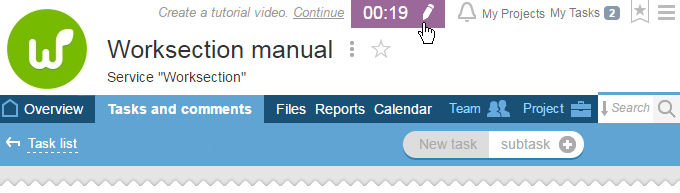
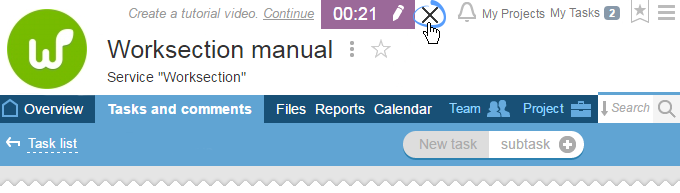
Once started, the timer is displayed at the top of the account’s page.
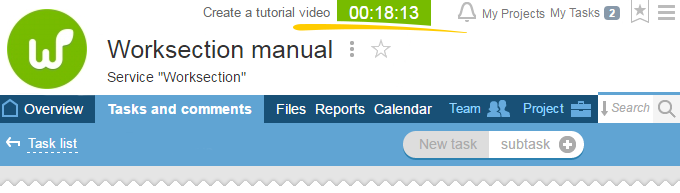
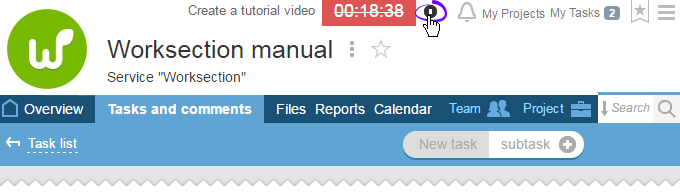
When you hover over it, you can stop it and enter time:
Or, you can delete it:
Stopping the timer
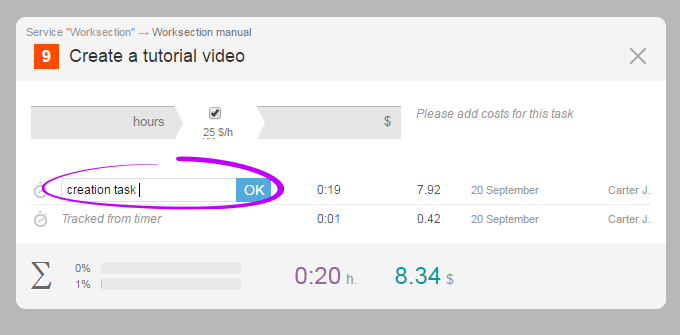
Let’s stop the timer and add this time as “spended on task”.
And now we can make a note of what has been done during this time.
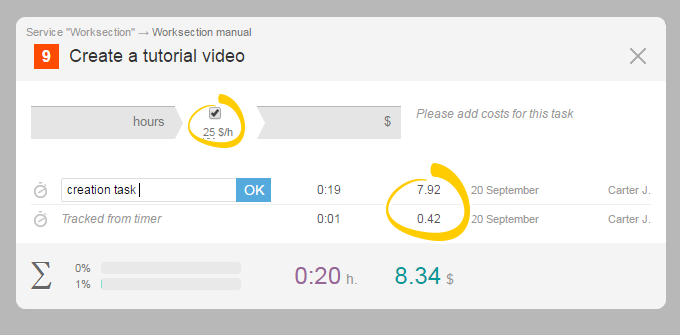
Please, note that financial costs will be automatically accounted only if the administrator or the owner of the account set an hourly rate in the account settings.
To finish, click “OK”, and close the window.
Timer continuation
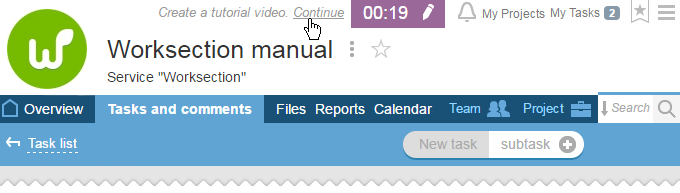
There are times when you need to take a break and stop the timer for some time. In order to resume your work, click on «Continue».
Your new spent time is added to the previously entered costs, namely, in the line that you have just filled out. Let’s take a look at how it works.
Our time has summed up in one box.
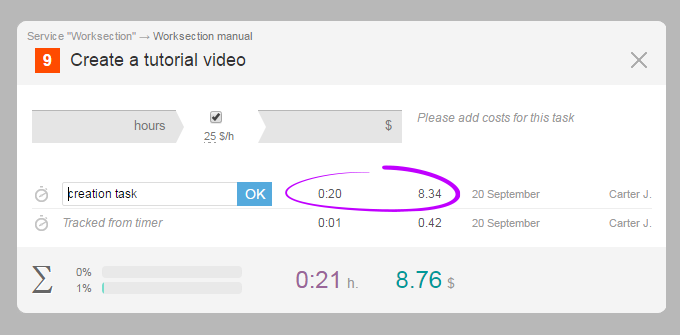
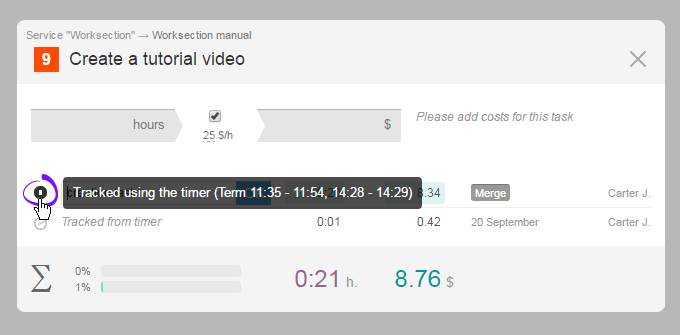
When you hover over the timer icon, we see the time period of the timer’s work.
You can add the name or leave it without changes.
Hide the timer
If you no longer wish for the timer to go on, click on “hide”.
The timer can be started as many times as needed.
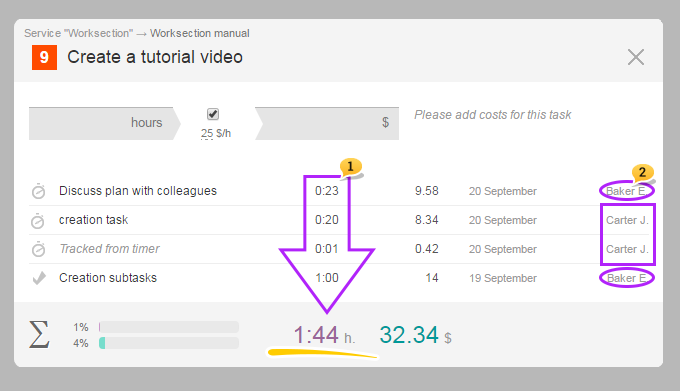
After the timer is stopped, the time is automatically added to the overall time spent for a particular task1 and is assigned to a particular executive2.
Adding time manually
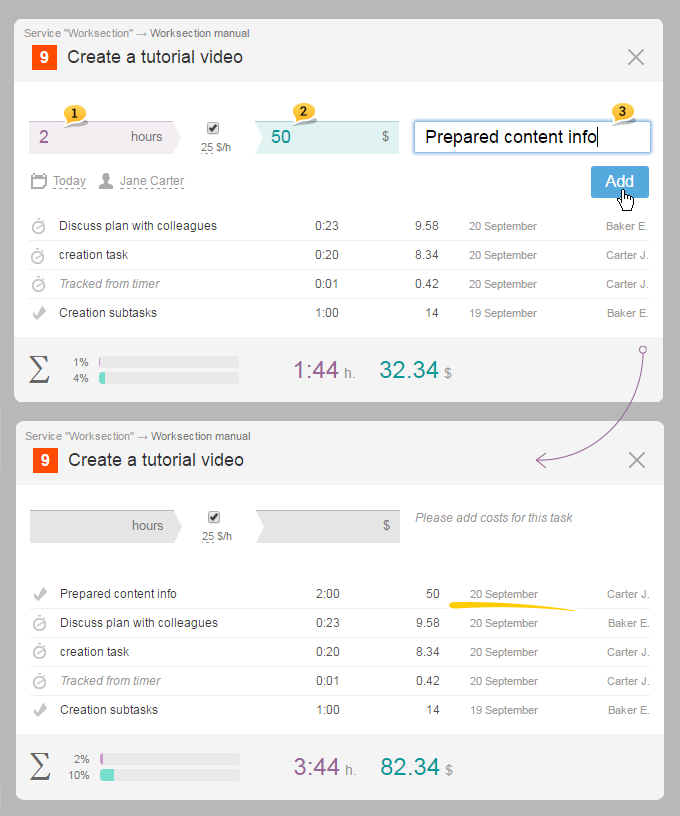
Also, time and financial costs can be added manually. For this, click on «Costs» icon:
And fill out the corresponding fields: by time1, by money2, and by what has been done3. The costs were entered as of today’s date.
Backdating the costs
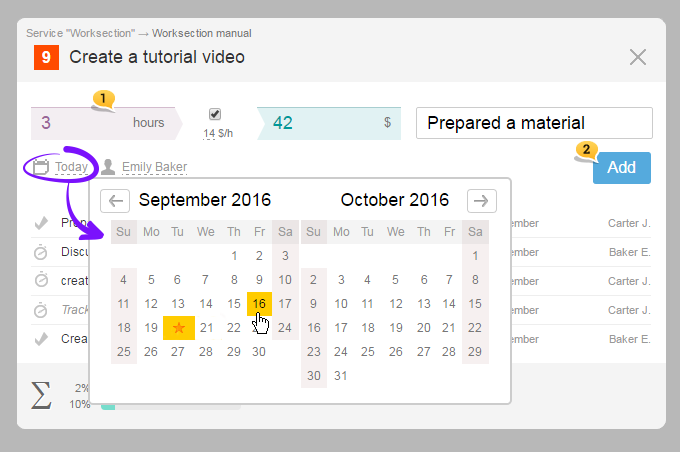
There are situations when costs need to be backdated. In such case, fill out the fields with the required data1, click on the calendar, and choose the date that you need. After that, click «Add»2.
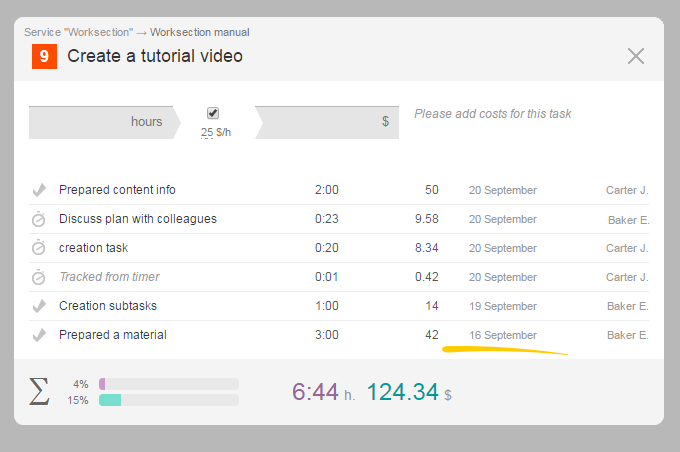
Costs were entered for the date that we chose.
«Reports» section
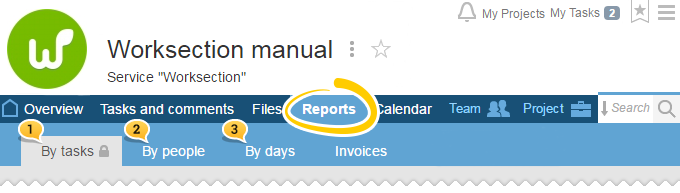
You can see the entered costs in the “Reports” section broken down by tasks1, people2 and days3.
Don’t forget to start the timer and enter costs in a timely manner.
Have a productive worktime!
Worksection team
Залишіть ваш відгук
Чи допомогла вам ця стаття?