How to set up IP address restrictions?
☝️ Attention! This option is available only for PRO tariff plans.
The functionality might be useful for companies with strict data security policies, when it is necessary to give access to an account only from certain IP addresses. This will additionally provide protection against data interception in public places and unauthorized access, for example, if a laptop is lost.
How to activate?
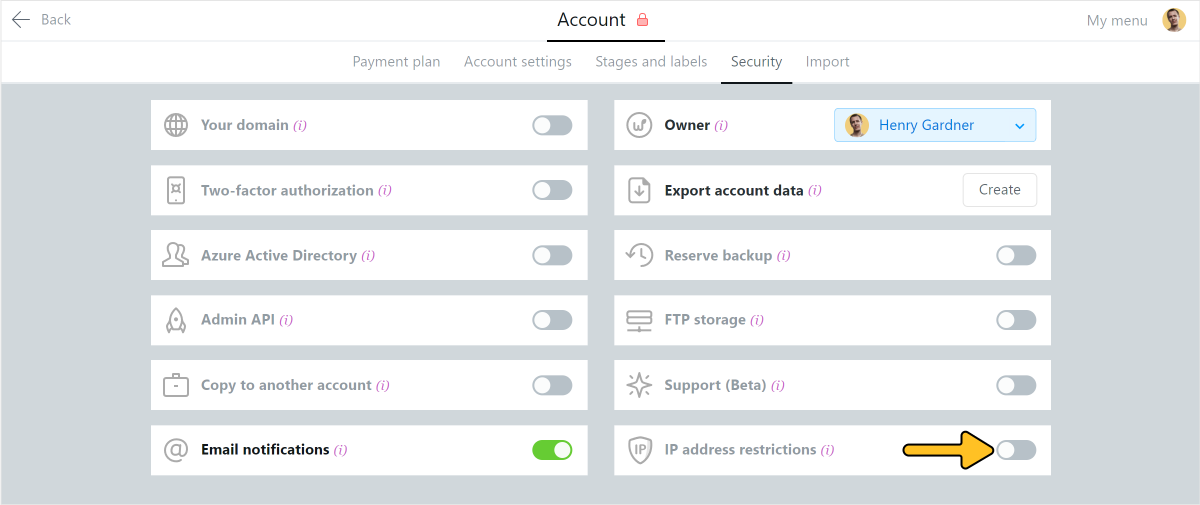
For managing an IP address list, go to Account > Security and activate the specified switch button.
Permissions Access to this section is available to Account Owner and Account Administrator with the permission «Access to account settings and payments».
Adding IP addresses
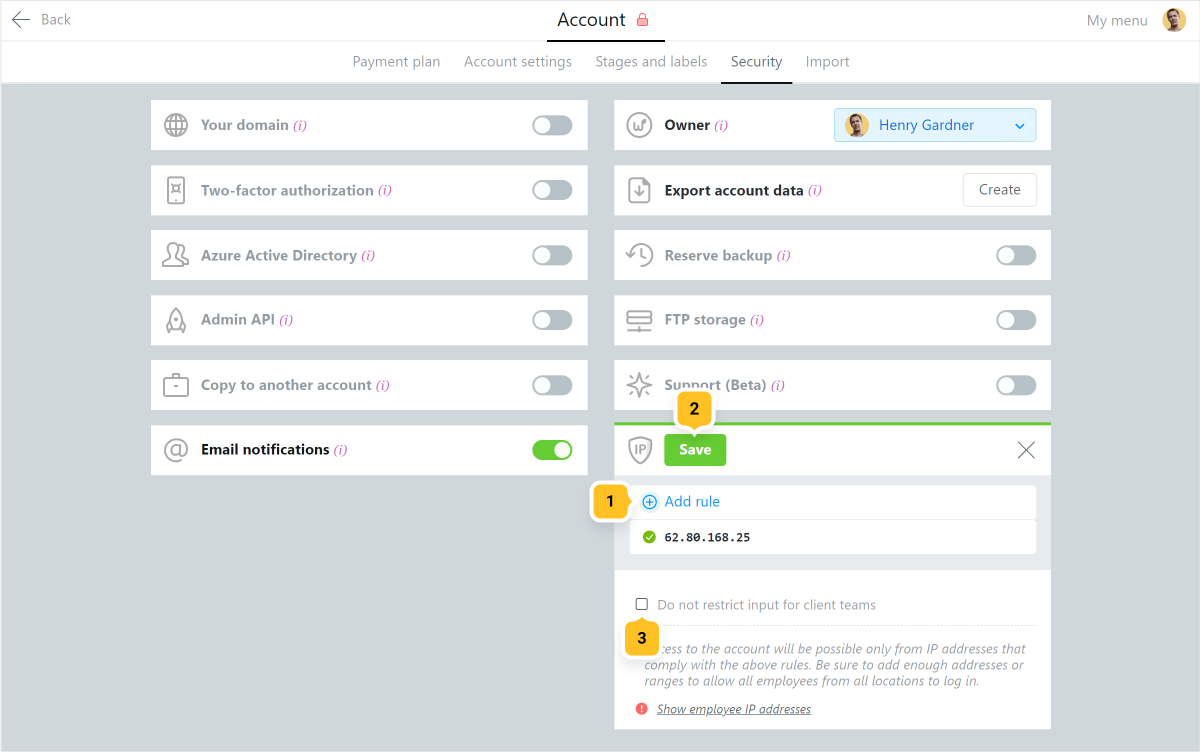
After the first activation, your current IP will automatically appear first in the whitelist (current IP is always highlighted in bold).
Add allowed IP addresses (in IPv4 format like 168.0.0.1) or a subnet of addresses (via a mask like 168.0.0.1/24)1 and save all changes2. If necessary, you can remove restrictions for members of client teams3.
Note Individual IP addresses can be added only one at a time.
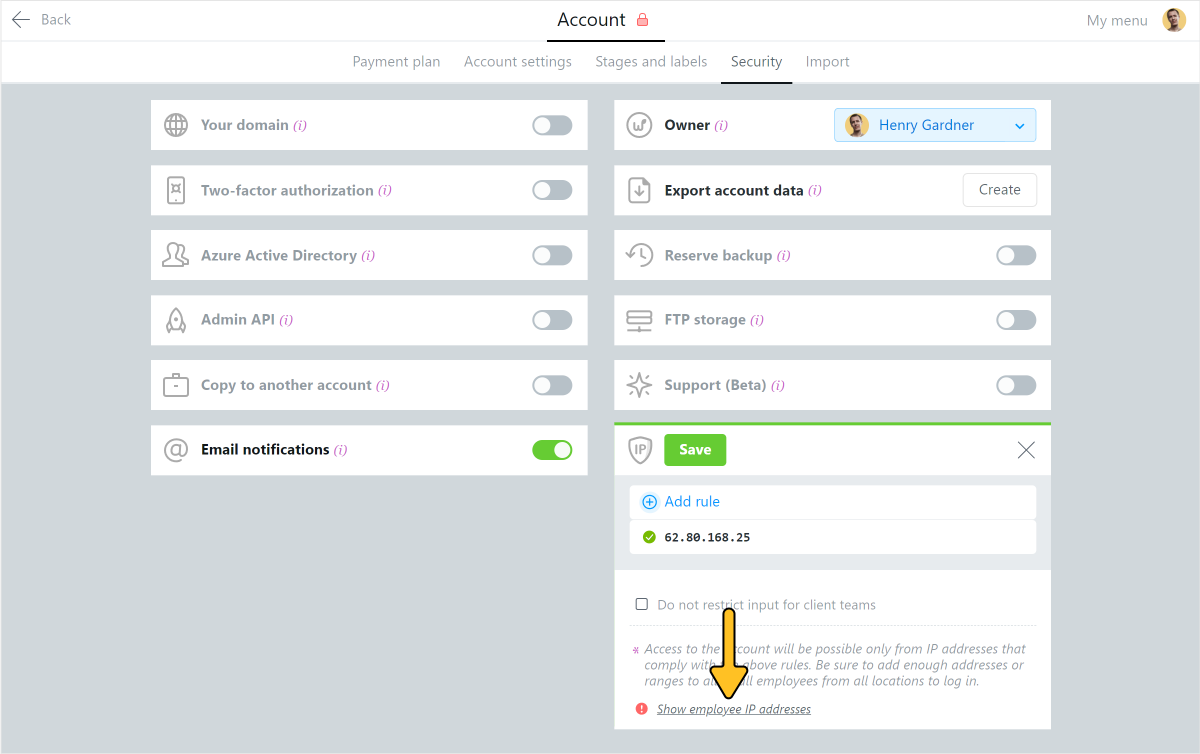
To quickly add the IP addresses of employees who were or are online, use thе option Show IP addresses of employees. But pay attention, when the user has already logged out, he will no longer be displayed there.
Click a field of the required employee1 and the desired IP address2. So the address will be copied and can be added to the whitelist, as described above.
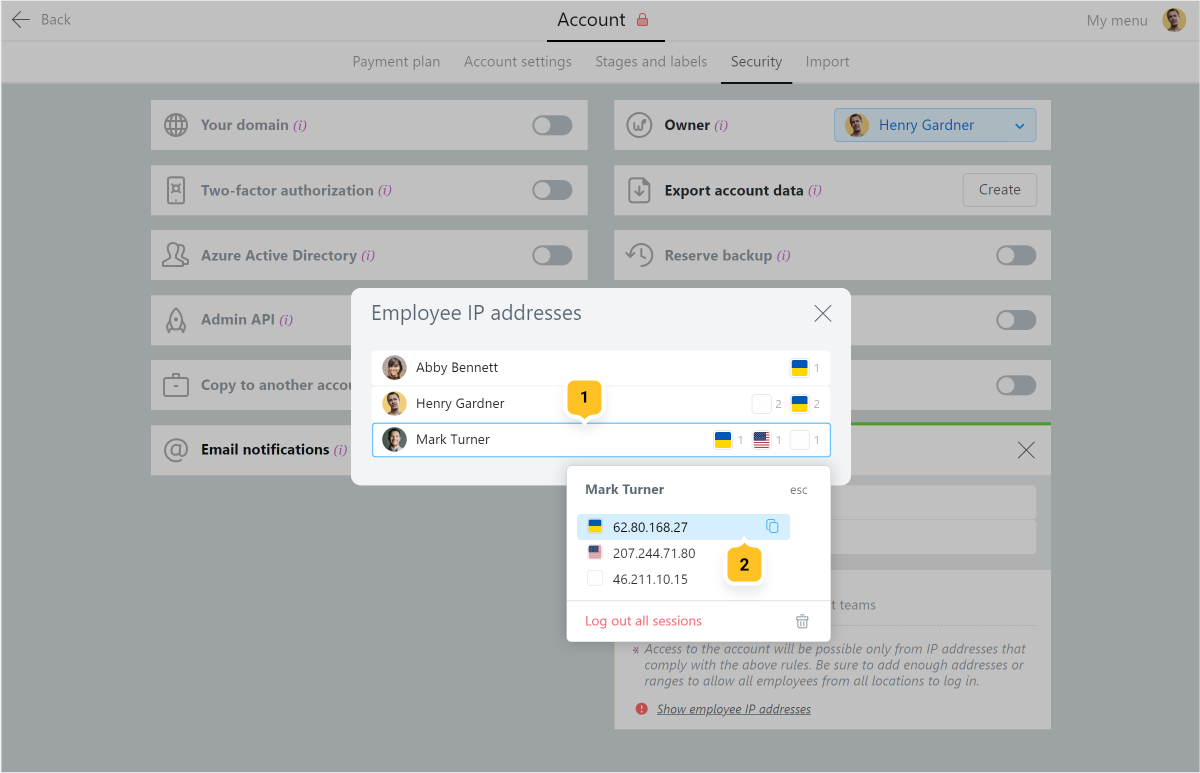
Note The absence of a “flag” for a specific IP address means that, for some reason, the system was unable to determine the country it belongs to.
If the user IP address is not specified in the whitelist, then after logging into the account, the user will see a form for sending a request to add it
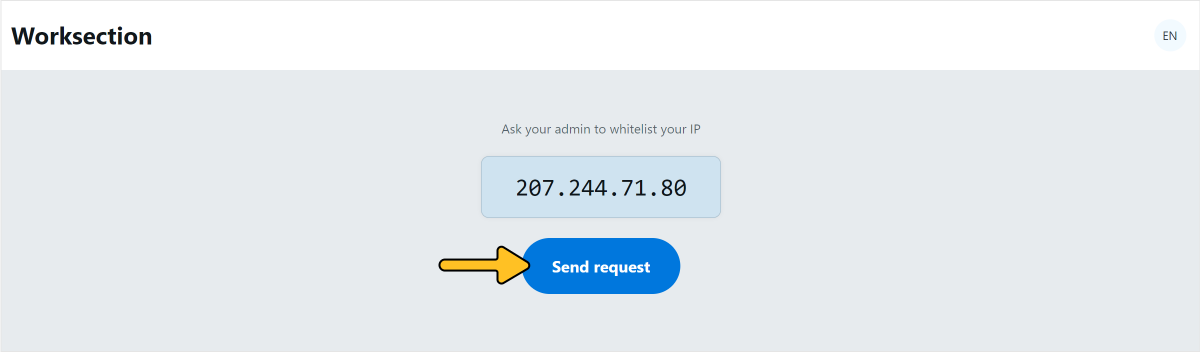
After clicking the button, an appropriate email will be sent to the Account Owner.
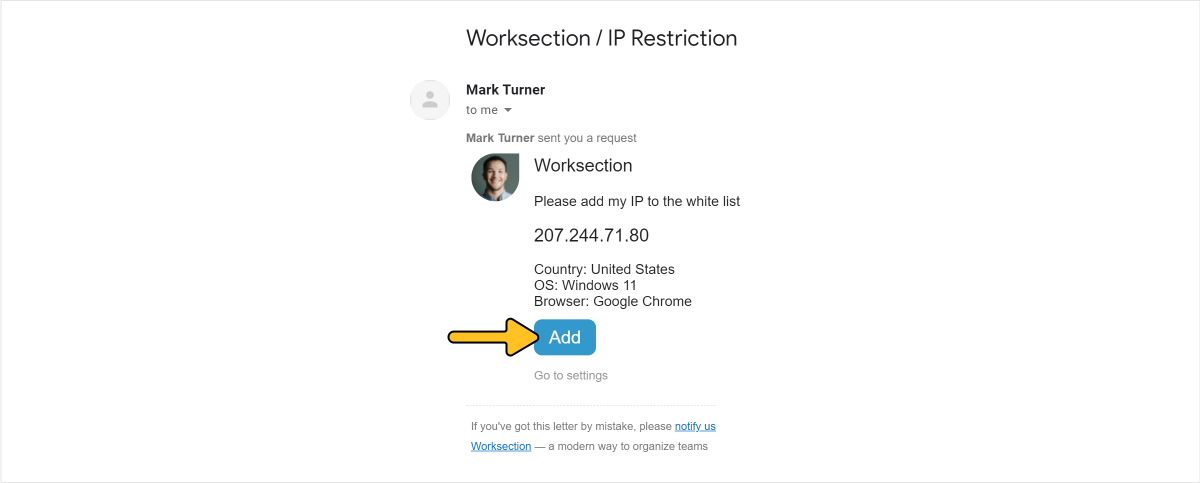
To add a new IP address to the whitelist, Account Owner can click the specified button in this email:
Editing and deleting IP addresses
After clicking the field of the corresponding IP address1, you can change it2 and save the changes with the OK button3 or delete it4. After making all the necessary changes, do not forget to make a final save5.
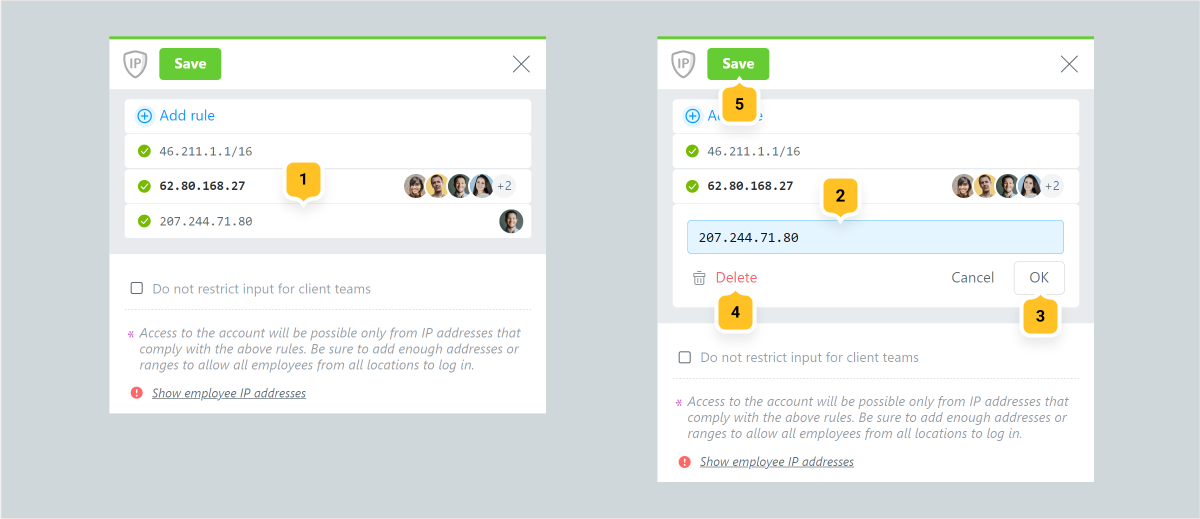
Note Avatars of the first four users, who were or are logged into the account, are shown next to each IP address. Other users are indicated as a number. But pay attention, when the user has already logged out, he will no longer be taken into account.
Was this article helpful?
Yes, thank you!
No